This guide helps you to install Windows Virtual Machine on Hyper-V Server.
01 – Click on Hyper-V Host and select a Virtual Machine and click Settings -> SCSI Controller -> DVD Drive and Add.

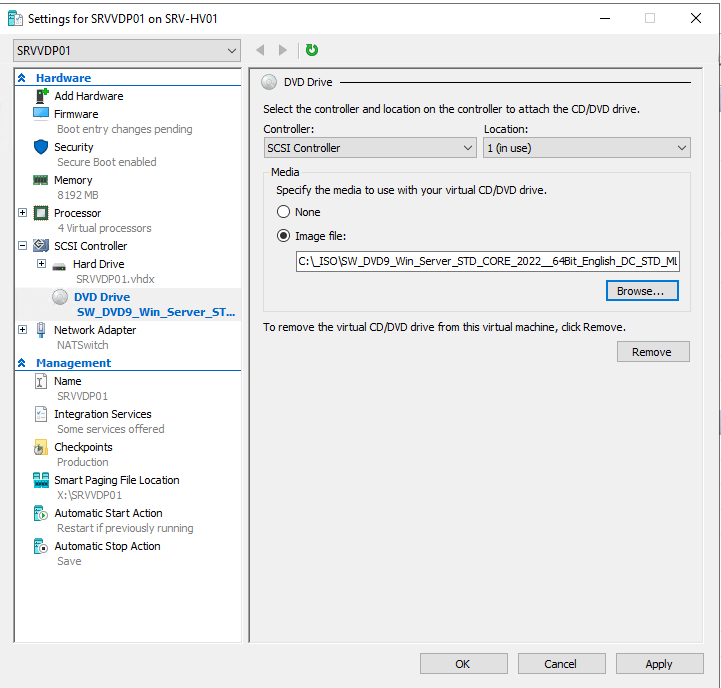
02 – Click on Hyper-V Host and select a Virtual Machine and click Settings -> SCSI Controller -> DVD Drive -> Image File -> Browse and provide a path to Windows ISO and click OK.
03 – Click on Hyper-V Host and select a Virtual Machine and click Connect.

04 – Click on Start for Power ON Virtual Machine.

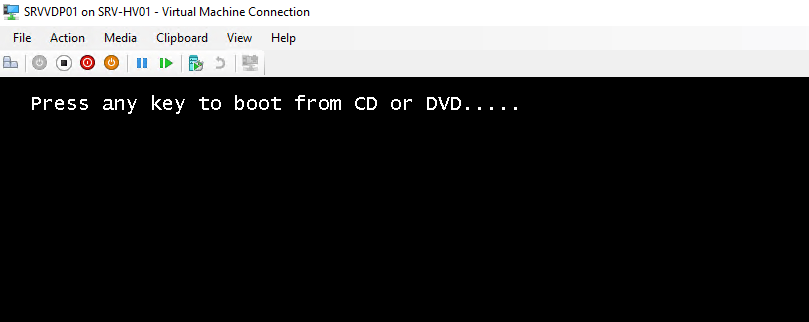
05 – Press any Key to boot from ISO.
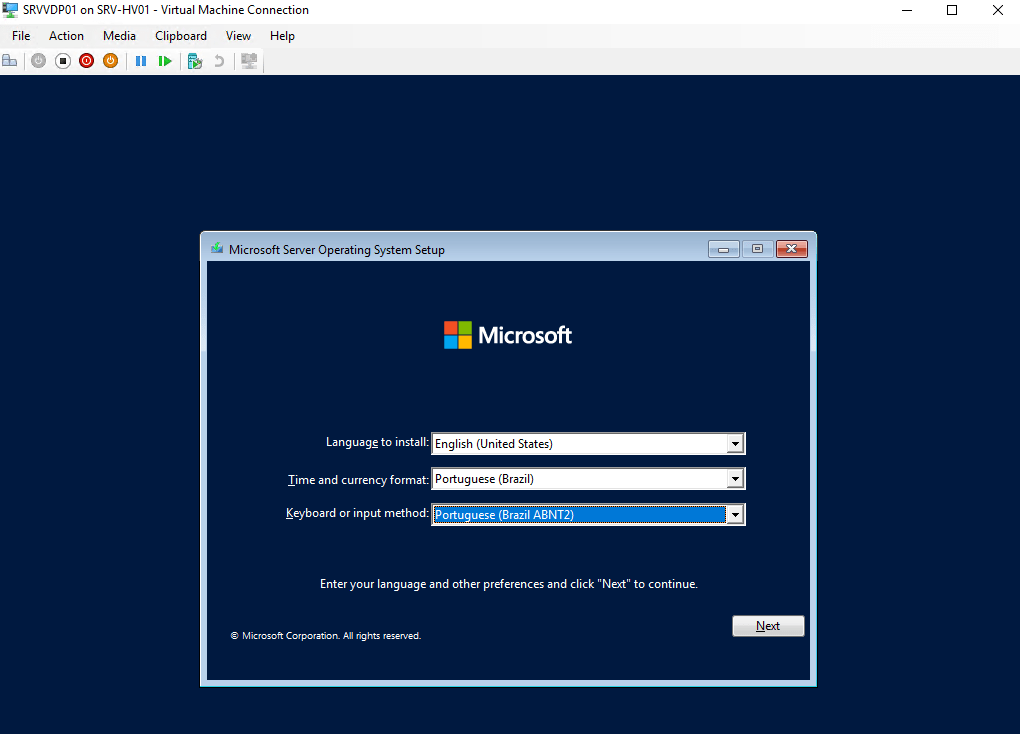
06 – Specify your language, time and keyboard preferences and click Next.
07 – Click Install now.

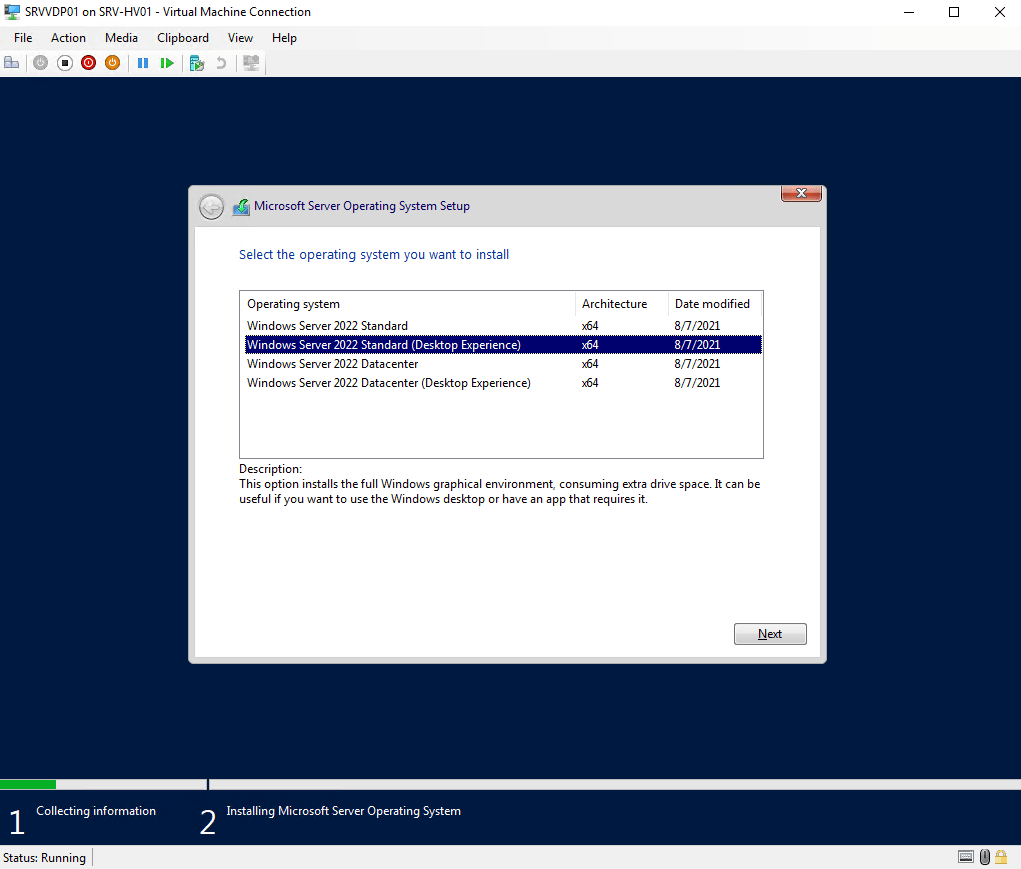
08 – Select your Windows version preference. Be careful of this Step. Default Windows Installation doesn’t have Graphical User Interface. For this guide I am using Desktop Experience (GUI).
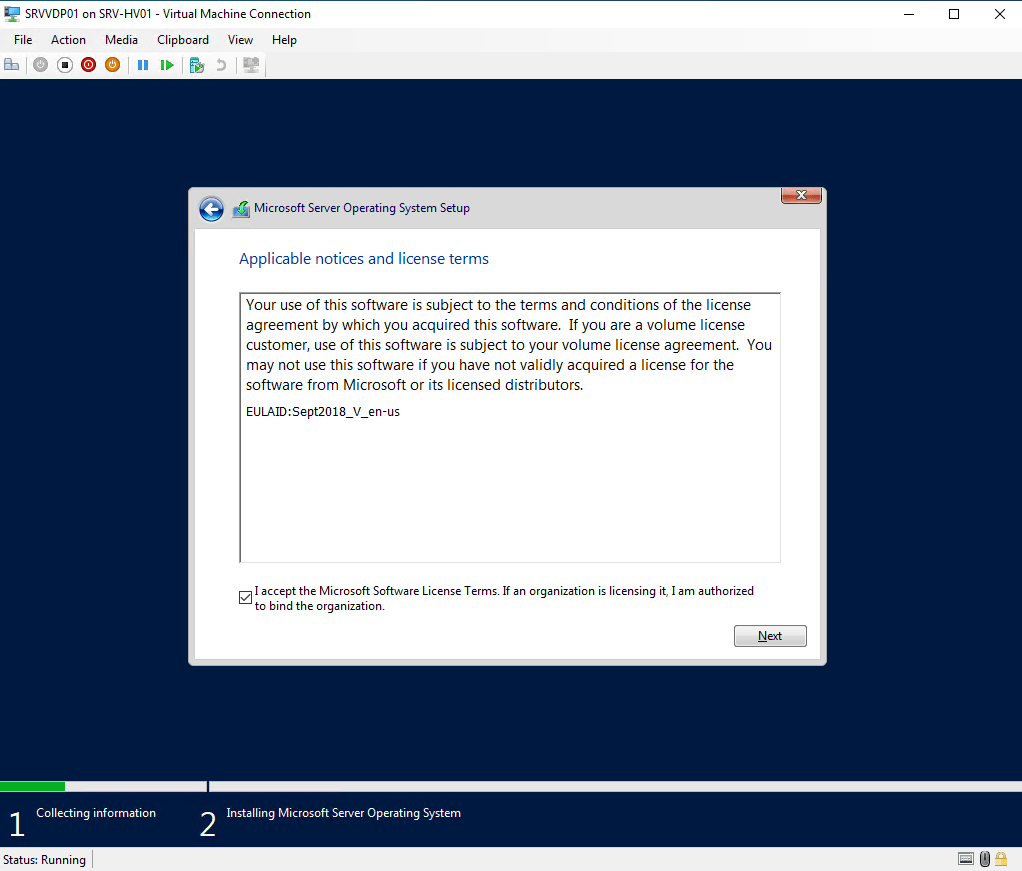
09 – Flag Checkbox and accept the Microsoft Software License and click Next.
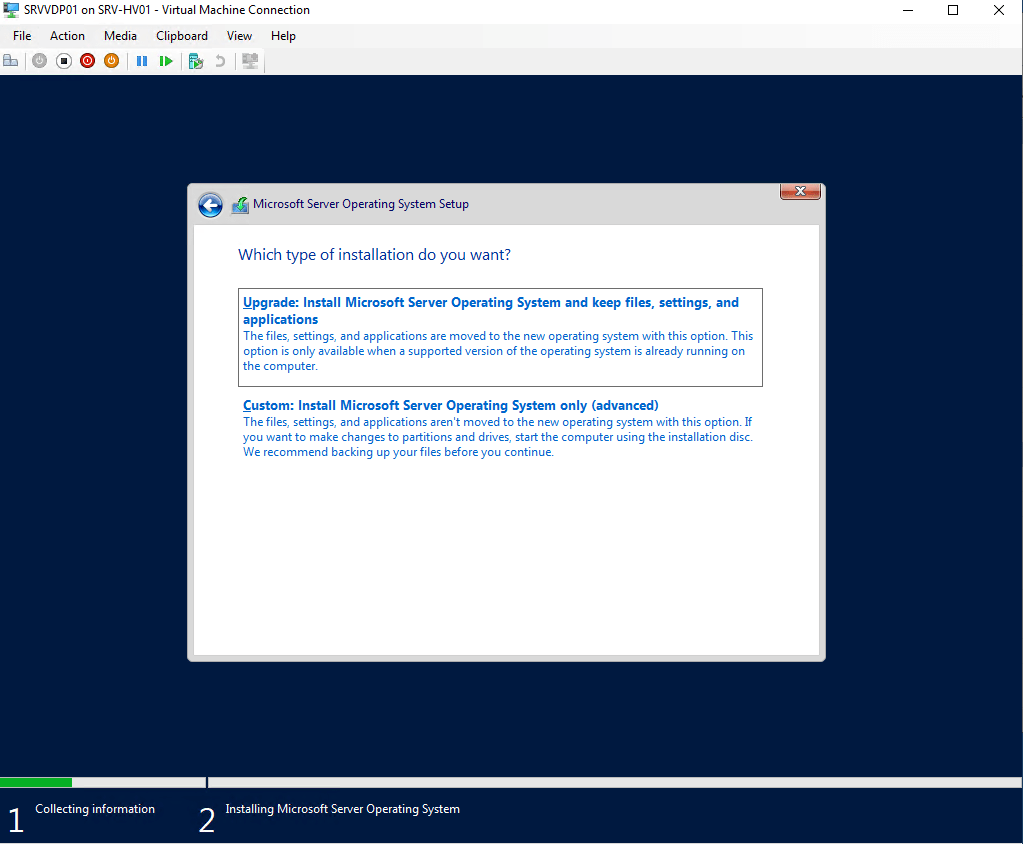
10 – Select Custom Installation and click Next.
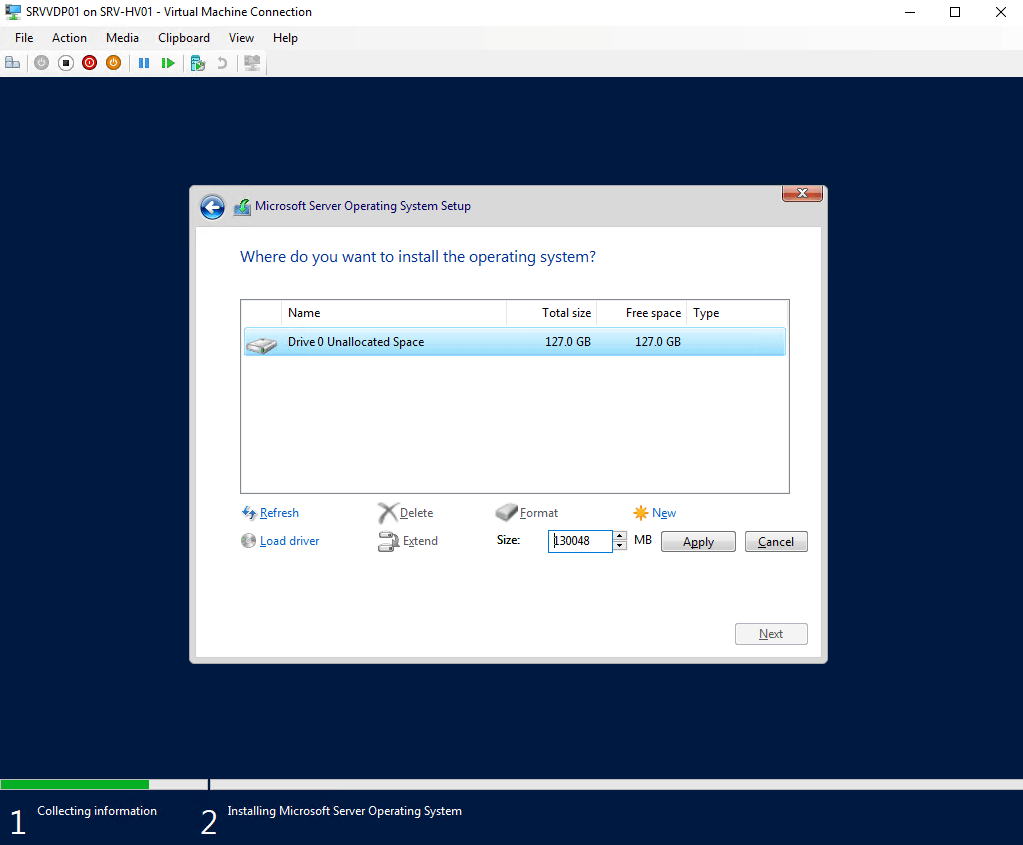
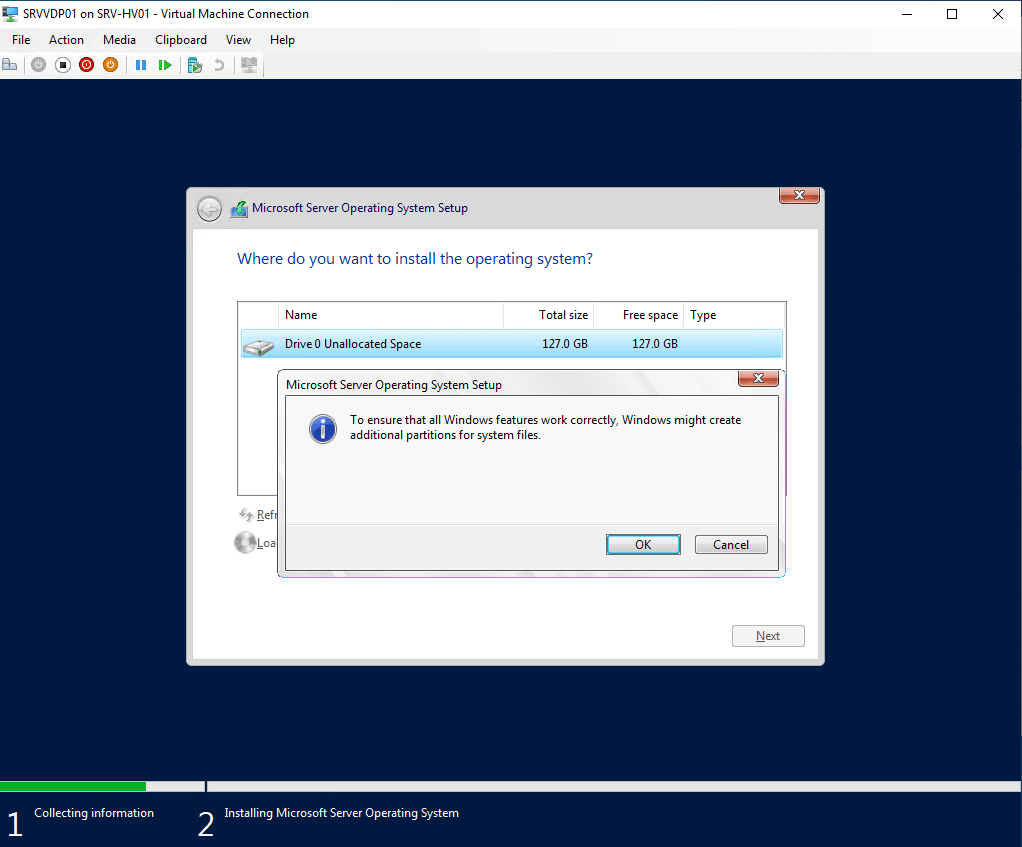
11 – Specify Disk to Install Windows and click New -> Apply and OK.
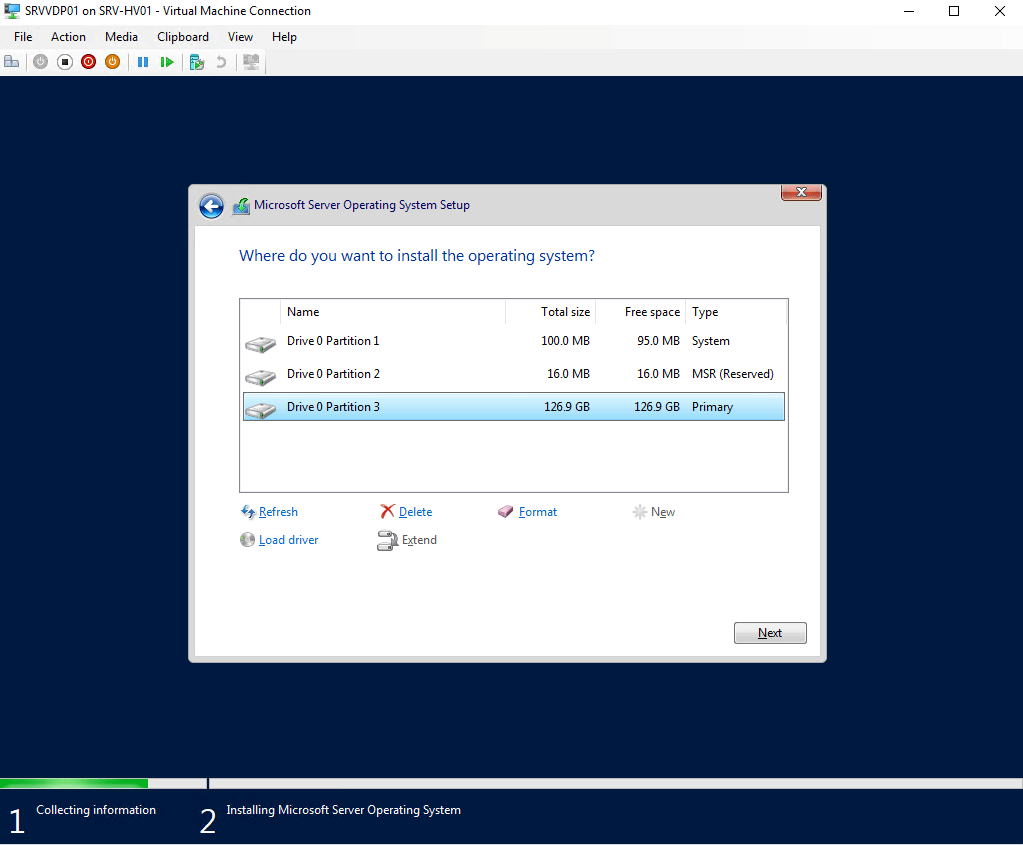
10 – Select Disk Partition 03 (Type Primary) and click Next.
12 – Waiting for Windows Installation. After finishing, the Virtual Machine is restarted.

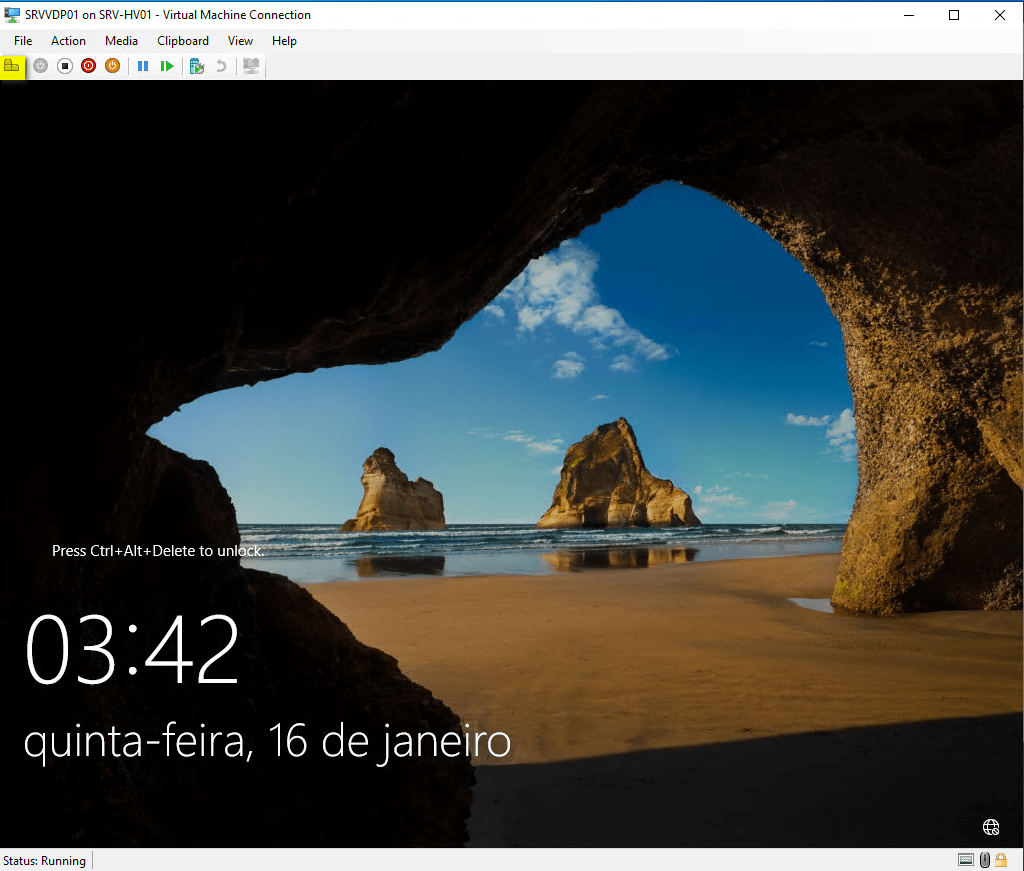
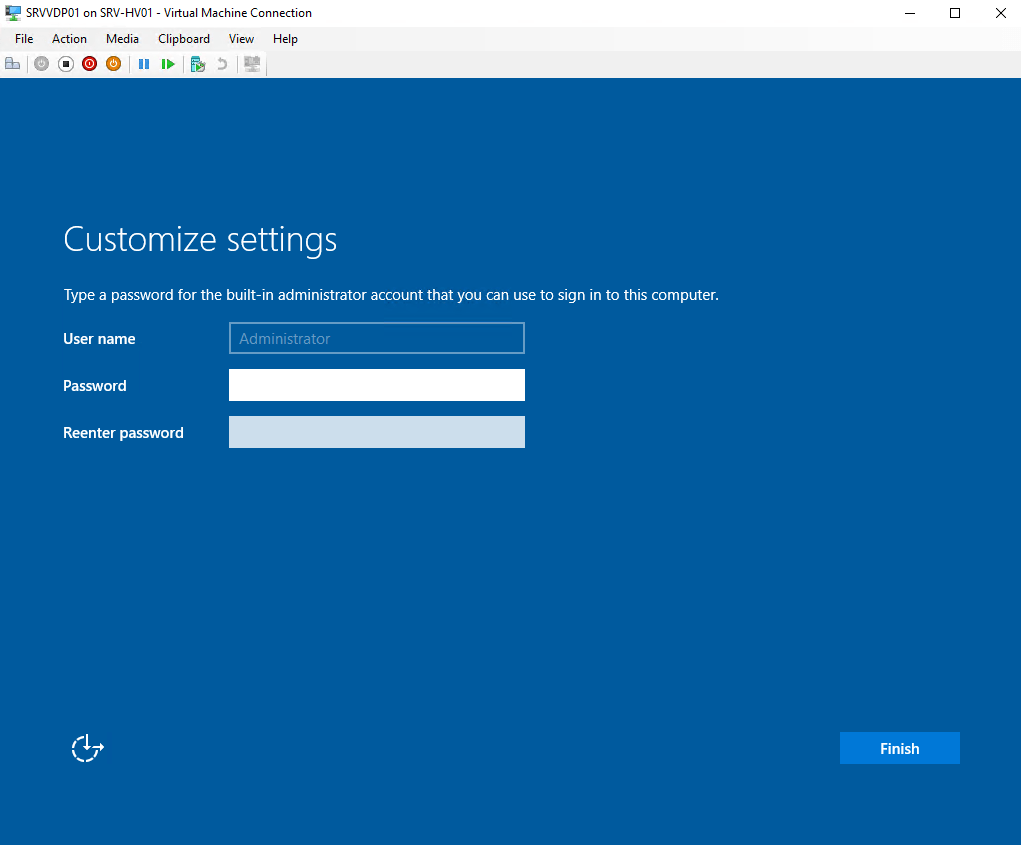
13 – After restart press Control+Alt+Delete (in yellow on Hyper-V Console) and create Password for your user.
Done, your Windows has been successfully Installed !

Leave a comment