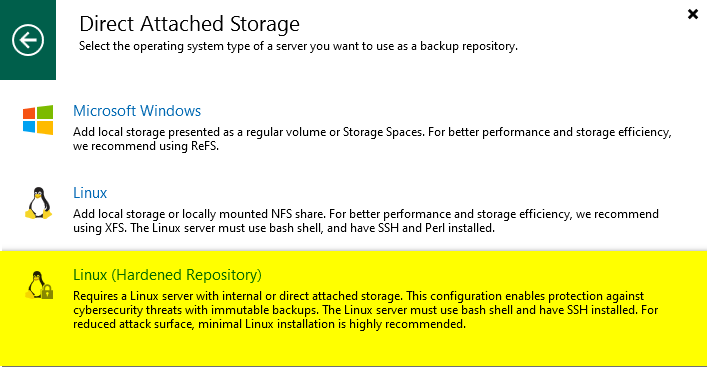
A Veeam Hardened Repository, built on Linux, provides immutability for your backups, a critical defense against ransomware. Immutability means your backups cannot be deleted or modified, even by malicious actors, ensuring data recovery after a cyberattack.
01 – Review Veeam documentation for Linux repository system requirements, especially regarding preferred Linux distributions for XFS integration System Requirements – Veeam Repository.
02 – Download the full version of Rocky Linux 9.5 Download – Rocky
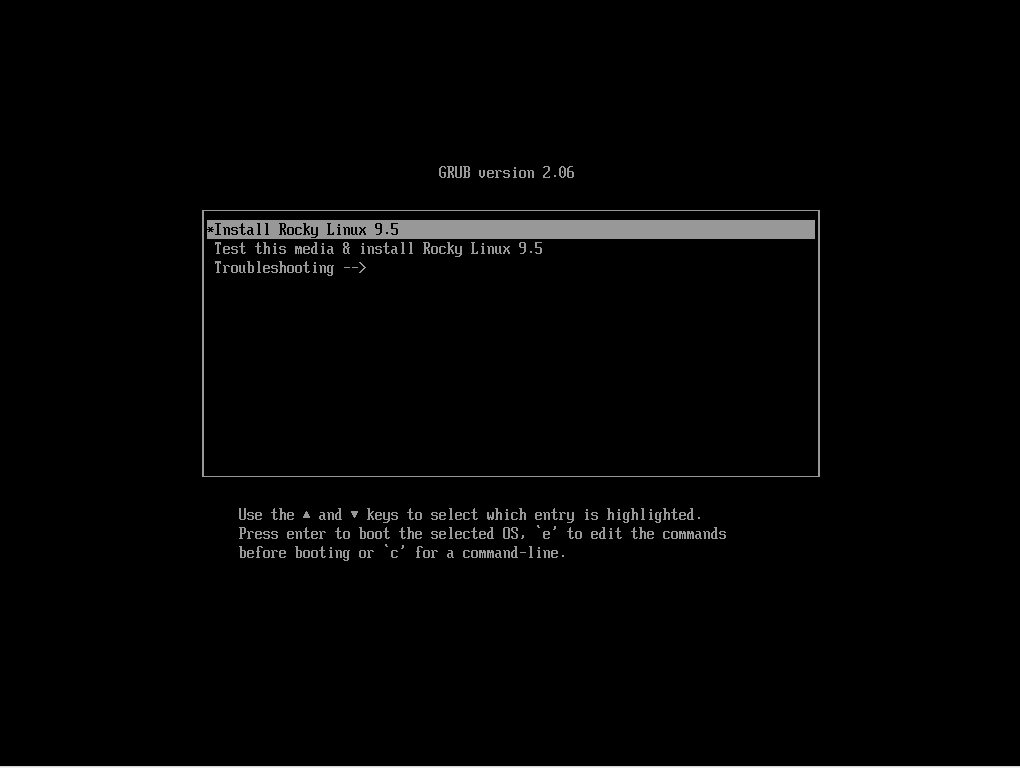
03 – Boot from the Rocky Linux 9.5 ISO and select Install Rocky Linux 9.5.
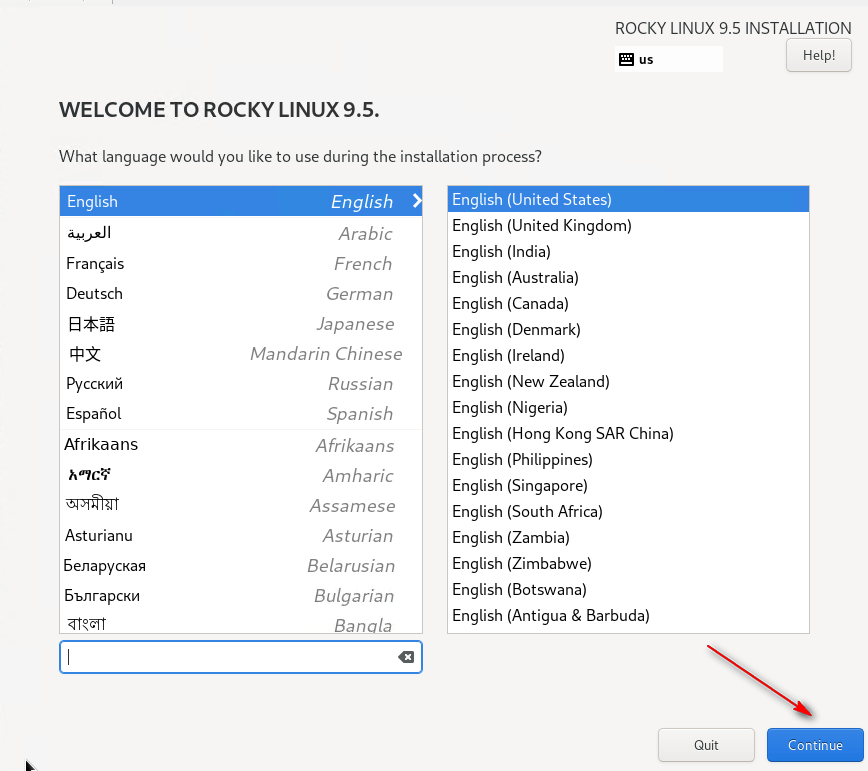
04 – Select your language and click Continue.
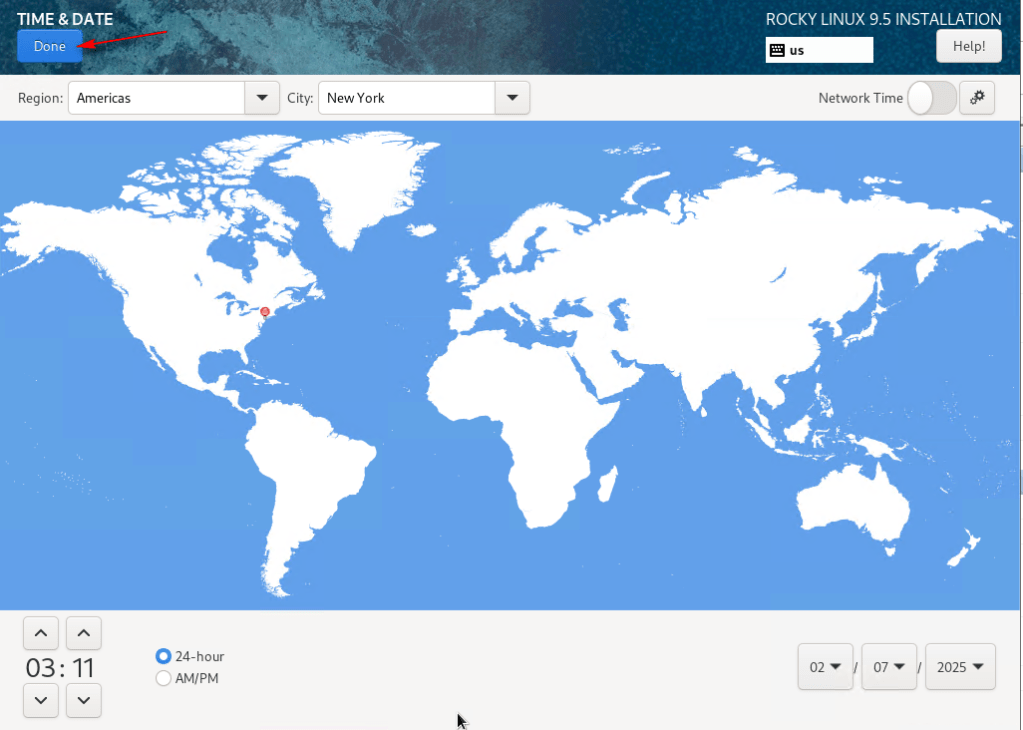
05 – Select and configure your time zone. This is crucial for logging, troubleshooting, and immutability. Click Done.
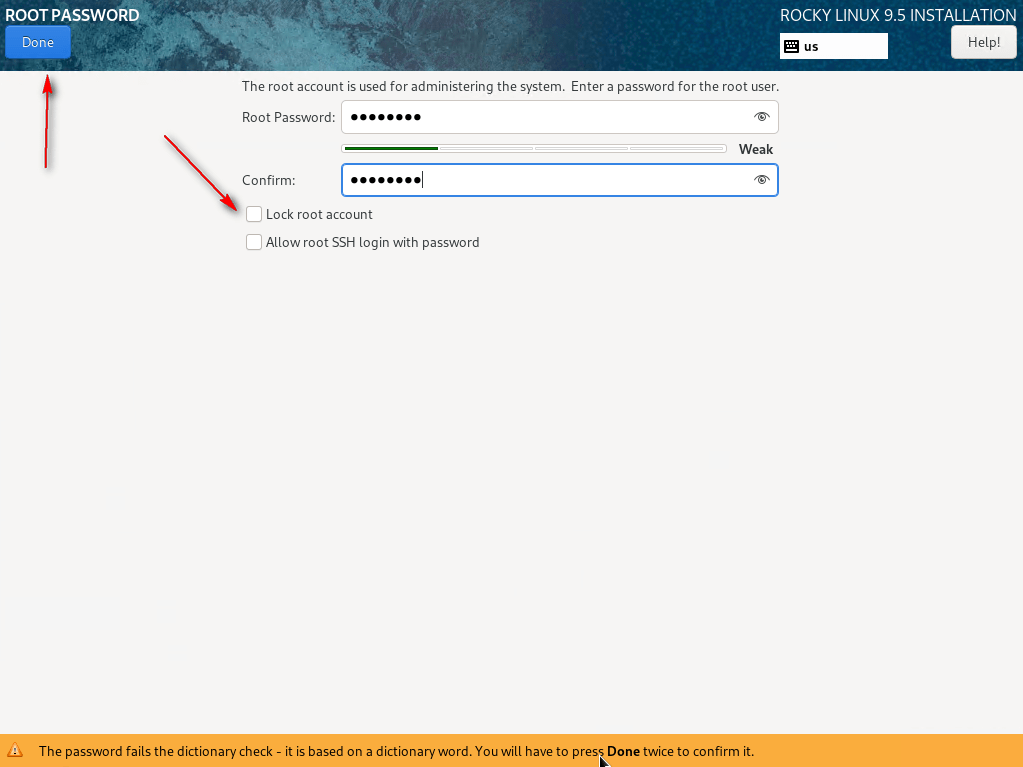
06 – In User Settings, select Root. Set a password. You will be required to change this password upon your first login. Uncheck Lock root account and click Done.
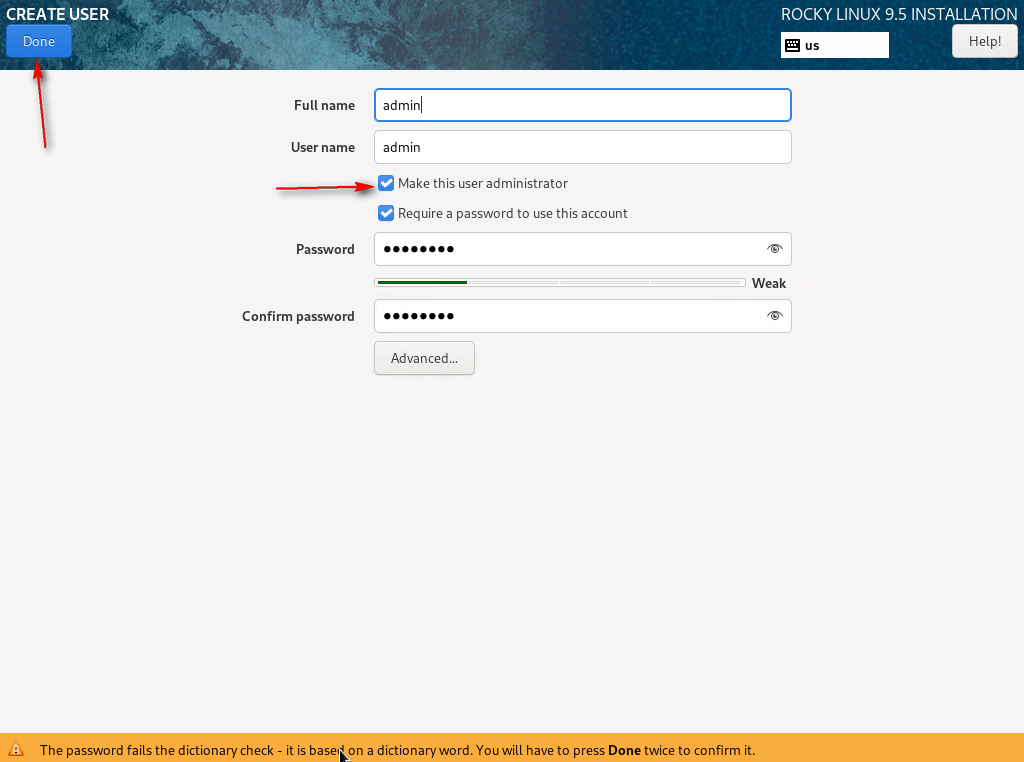
07 – In User Settings, select User Creation, check Make this user administrator, provide a user name, and set a password. You will be required to change this password upon your first login. Click Done.
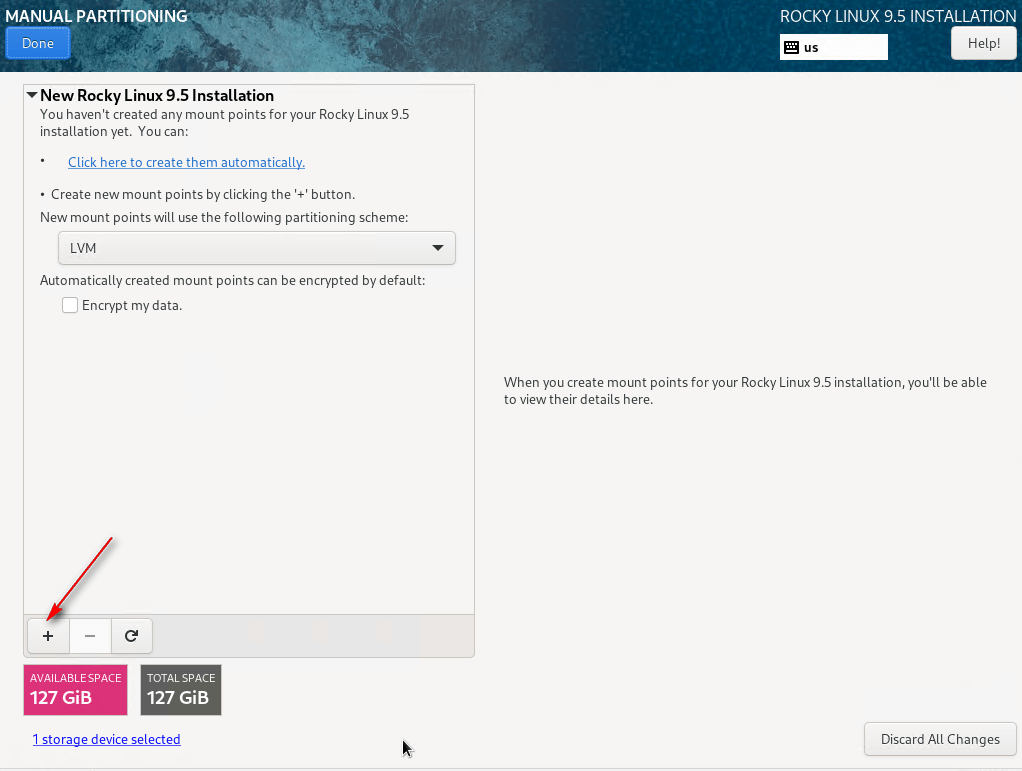
08 – In System, select Installation Destination. Choose the disk for Rocky Linux, select Custom under Storage Configuration, and click Done.

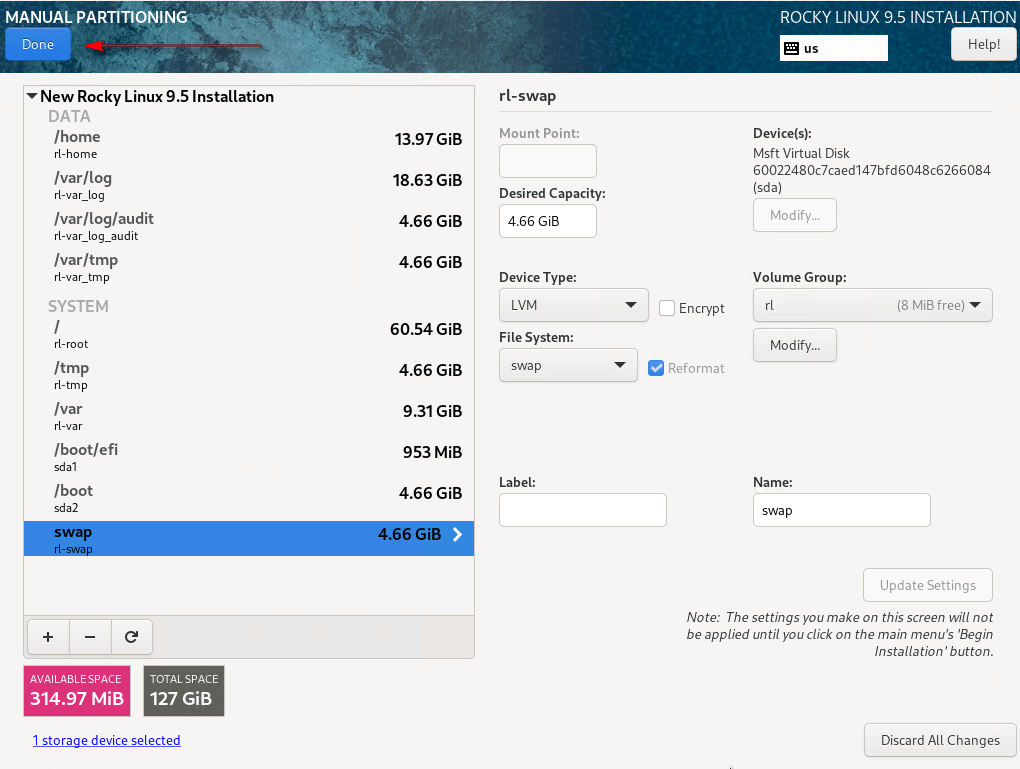
09 – Configure the following mount points for DISA STIG compliance. Adjust sizes as needed:
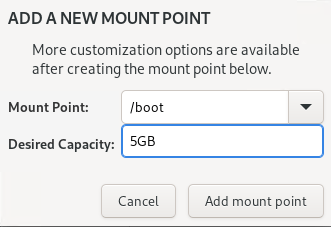
/boot -> 5GB
/boot/efi -> 1GB
/home -> 15GB
/var -> 10GB
/var/log -> 20GB
/var/log/audit -> 5GB
/var/tmp -> 5GB
/tmp -> 5GB
swap -> 5GB
/ -> 60GB
Click + to create each mount point, entering the path, size, and clicking Add Mount. Repeat for all mount points.
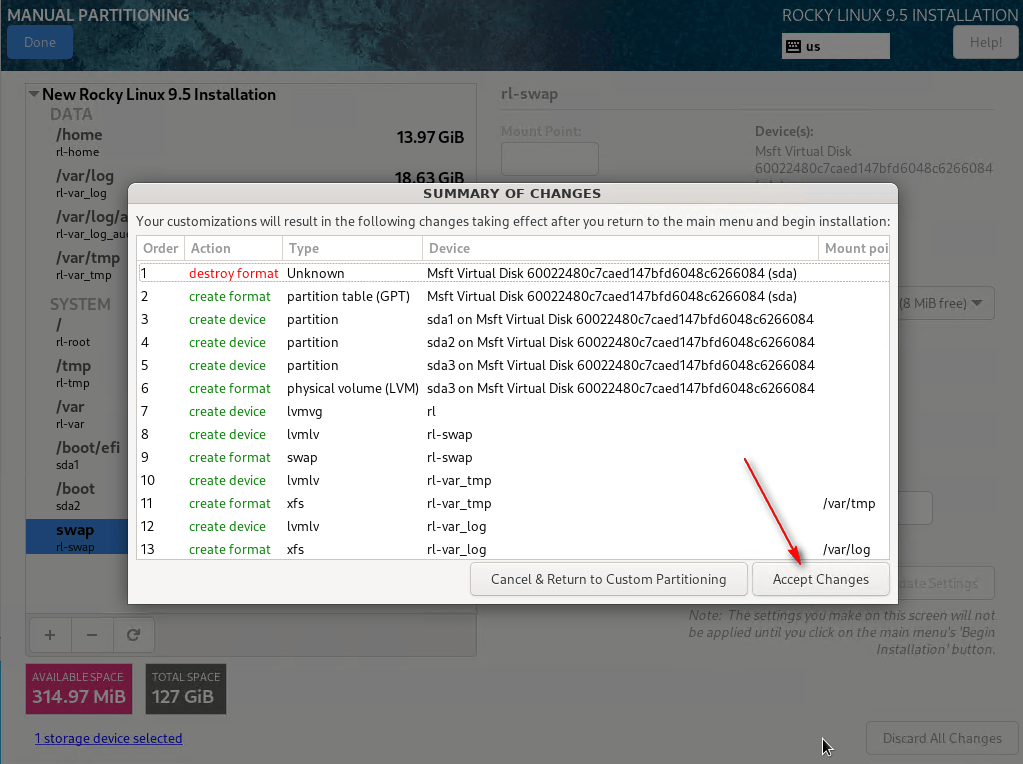
10 – Click Done and Accept Changes.
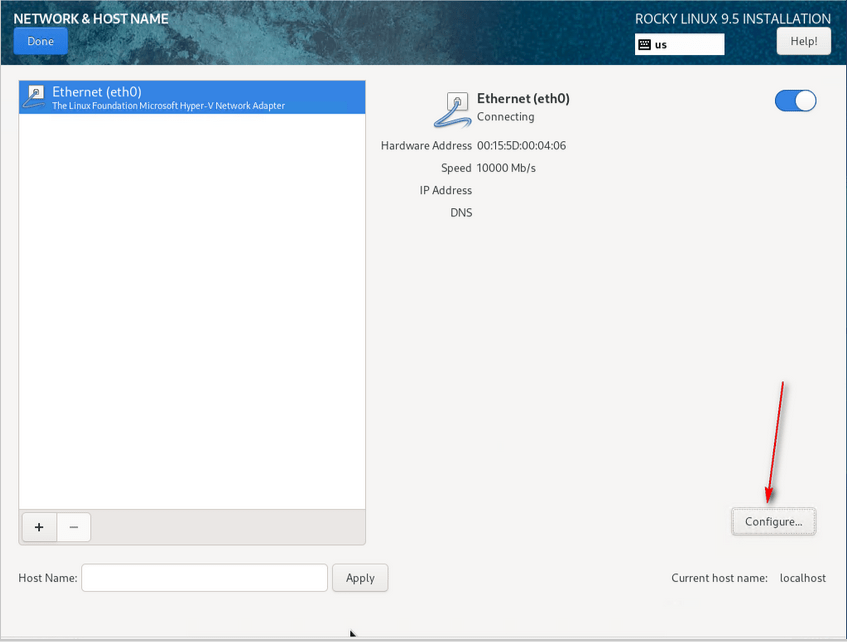
11 – Click Network & Hostname, select your interface, and click Configure. While this guide uses a single interface, bonding multiple interfaces is strongly recommended for production.
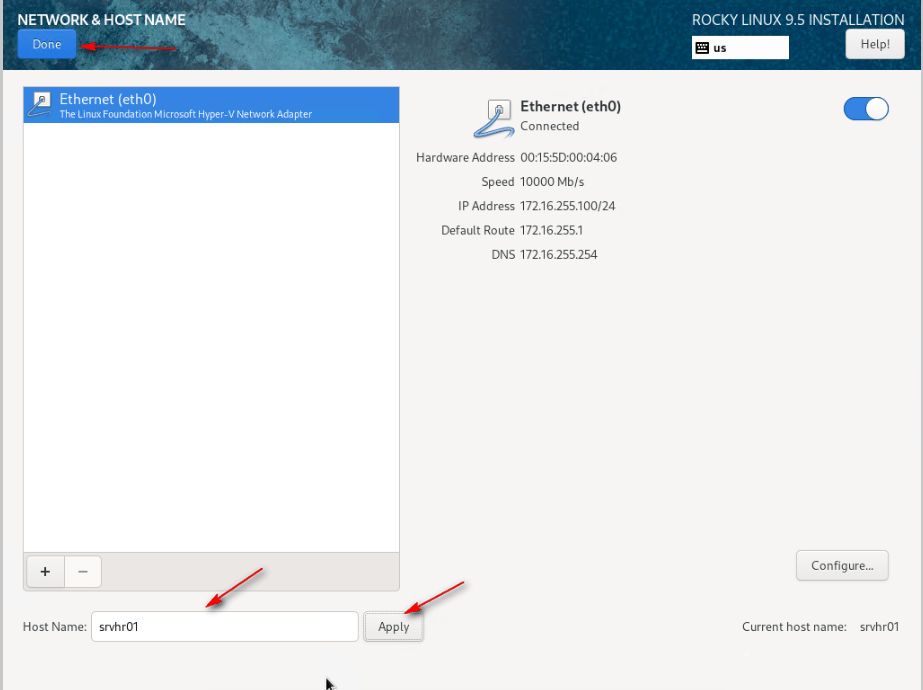
12 – In IPv4 Settings, change Method to Manual, click Add, provide the IP address, Netmask, Gateway, and DNS Servers. Click Save.

13 – Click Hostname, set the hostname, click Apply, and Done.
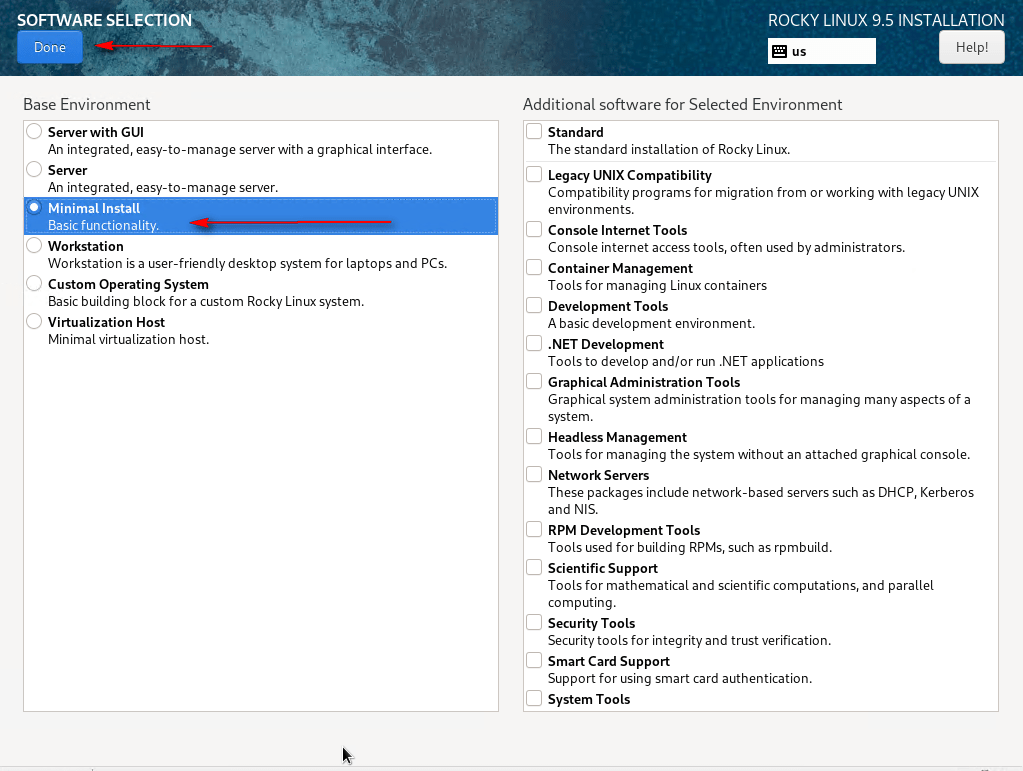
14 – In Software, select Software Selection, choose Minimal Install, and click Done.
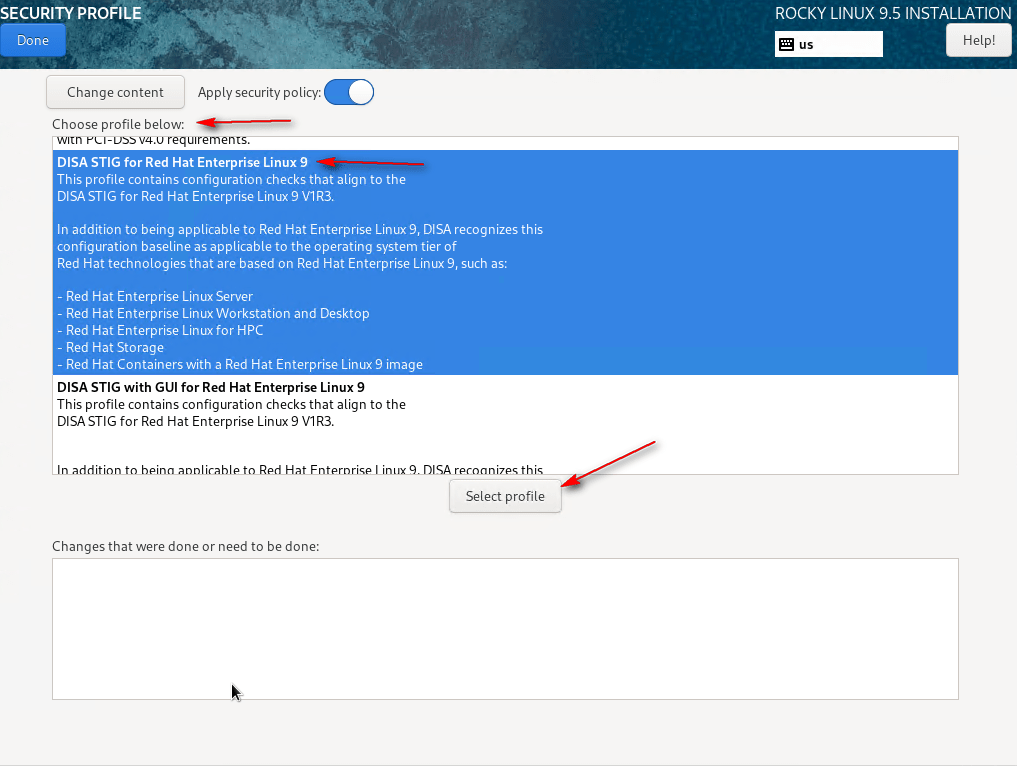
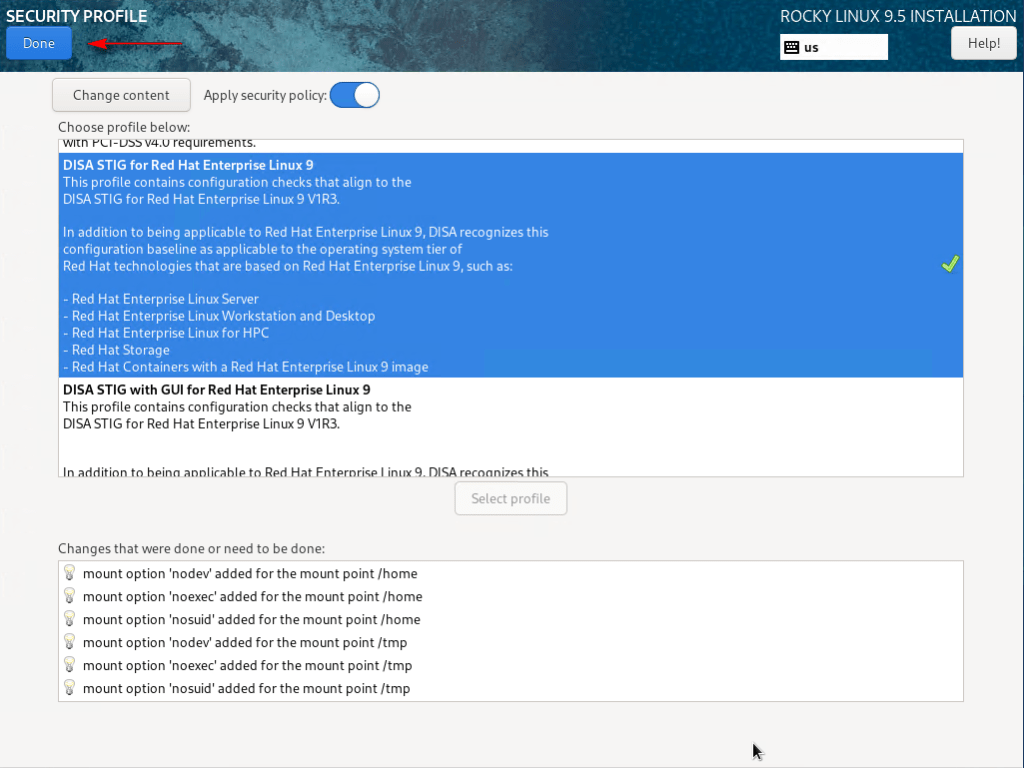
15 – Click Security Profile. Select DISA STIG for Red Hat Enterprise Linux 9 and click Select Profile. Click Done.
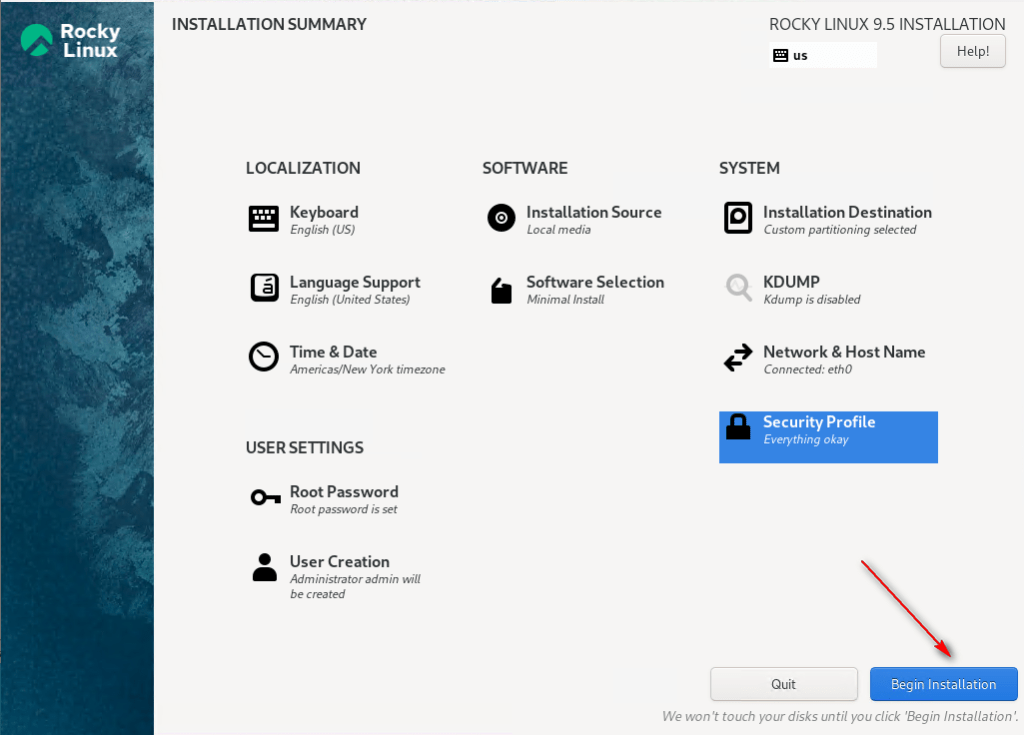
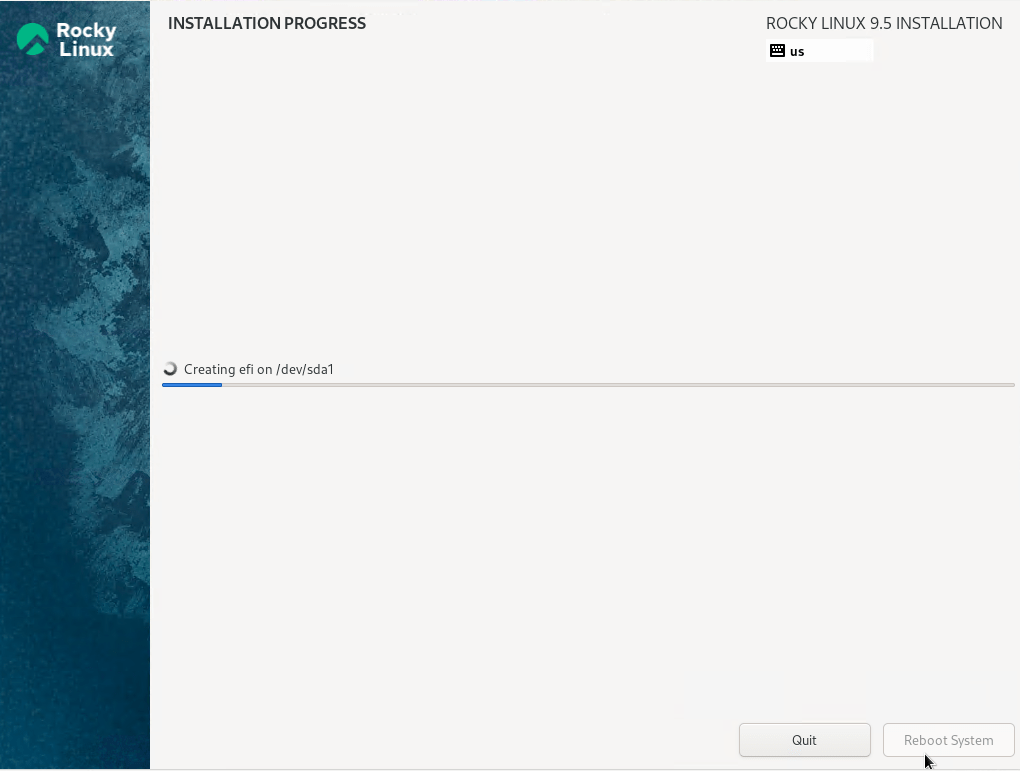
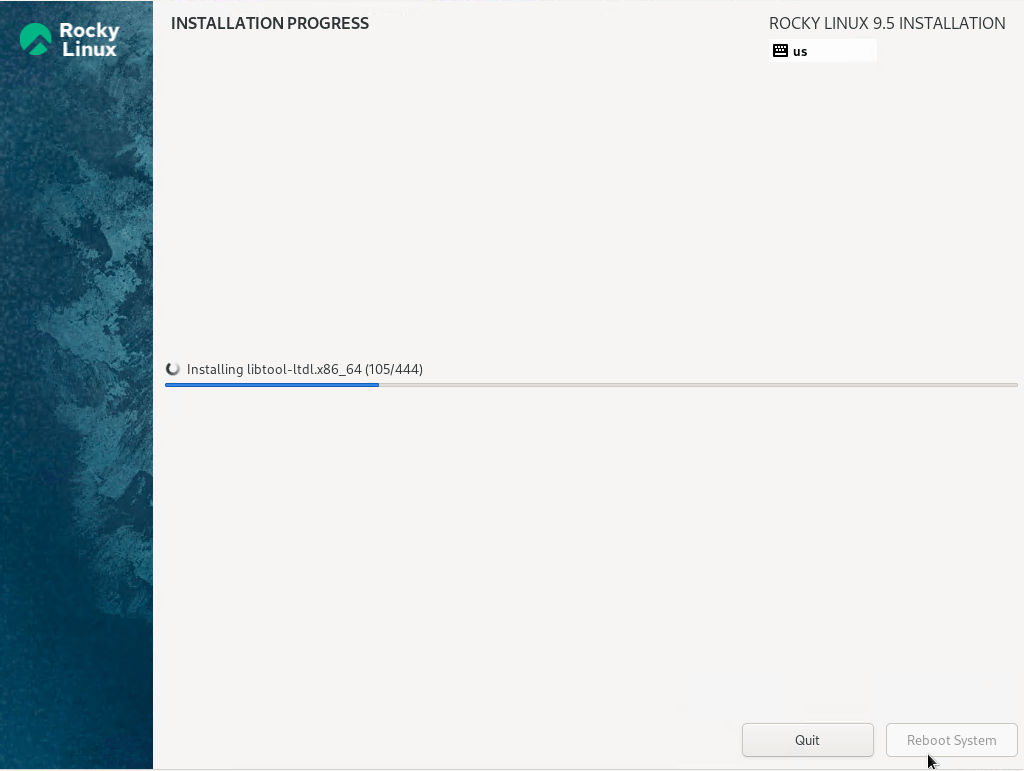
16 – Click Begin Installation.

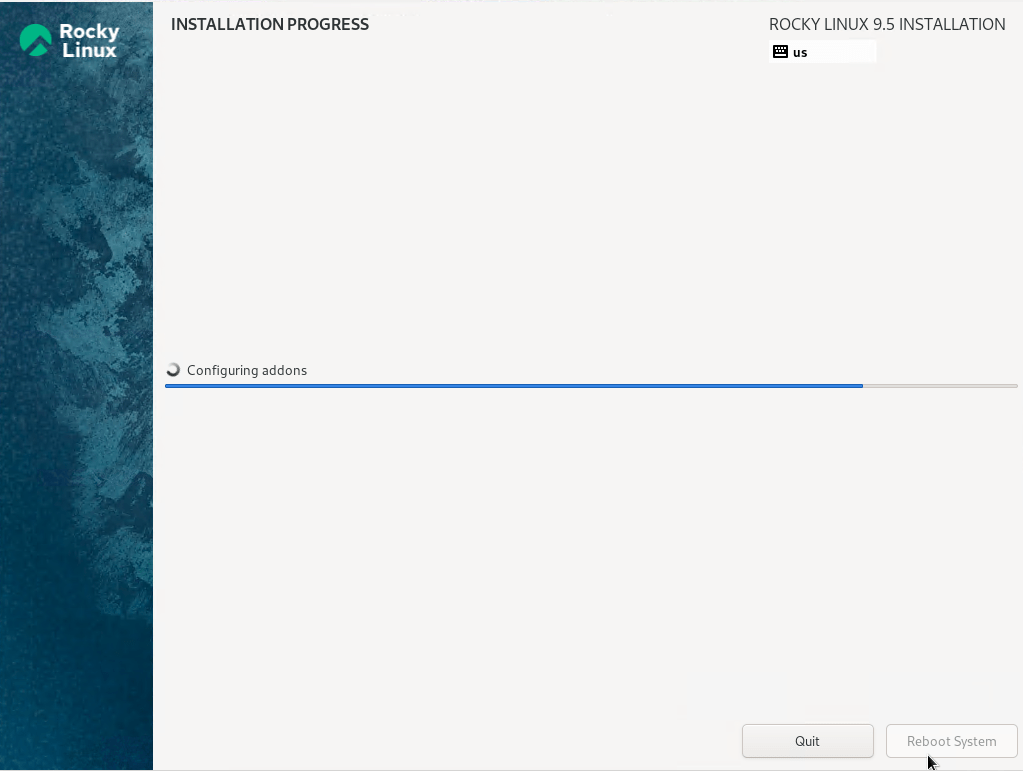
17 – Click Reboot System after installation.

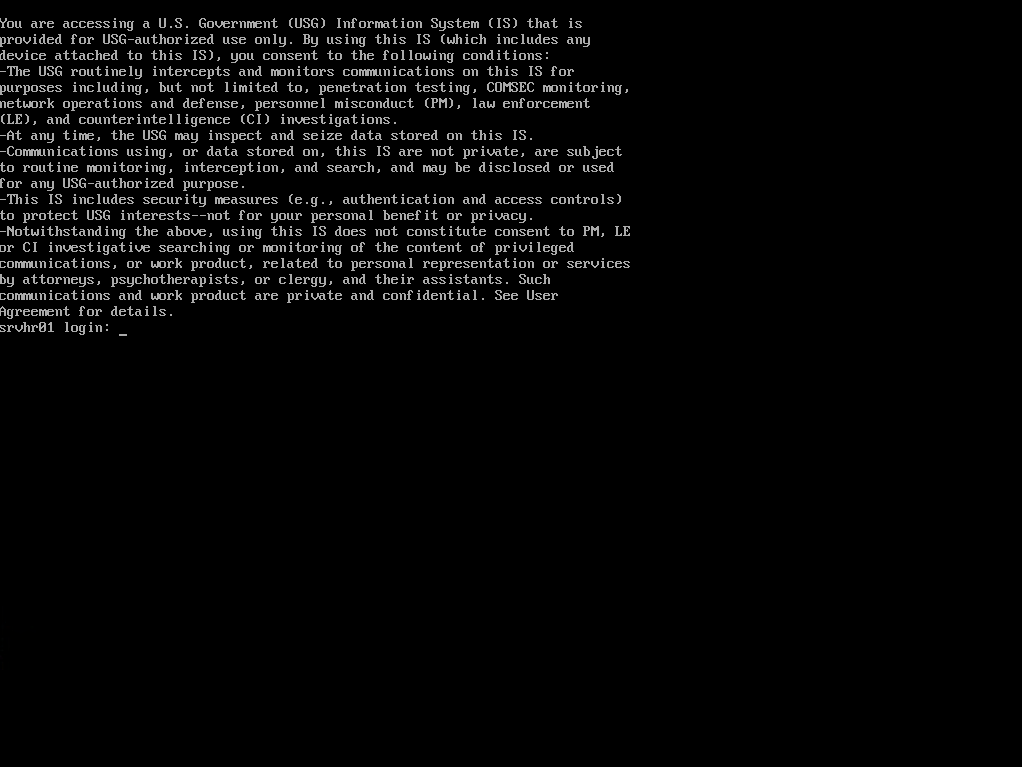
DISA STIGs (Security Technical Implementation Guides) are DoD cybersecurity standards that establish a security baseline, mitigate cyberattack risks, and enhance system security and compliance. Implementing STIG recommendations further reduces risk and supports compliance.
References:
DISA STIG On Rocky Linux 8 – Part 1 – Documentation
Preparing Red Hat Enterprise Linux Server as Hardened Repository – User Guide for Microsoft Hyper-V
On part 2, I will demonstrate how prepare another disk to receive data from Veeam.
Keep in mind that this guide is intended to demonstrate Veeam features and processes. It is not recommended to deploy any repository within a Virtual Machine.
Thanks for your time!
😉
Step by Step – Veeam Hardened Repository with Rocky Linux and DISA STIG – Part 2
Step by Step – Veeam Hardened Repository with Rocky Linux and DISA STIG – Part 3
Step by Step – Veeam Hardened Repository with Rocky Linux and DISA STIG – Part 4
Step by Step – Veeam Hardened Repository with Rocky Linux and DISA STIG – Final

Leave a comment