In this part of the guide, I will finalize the guide by testing restore operations from the Hardened Repository.
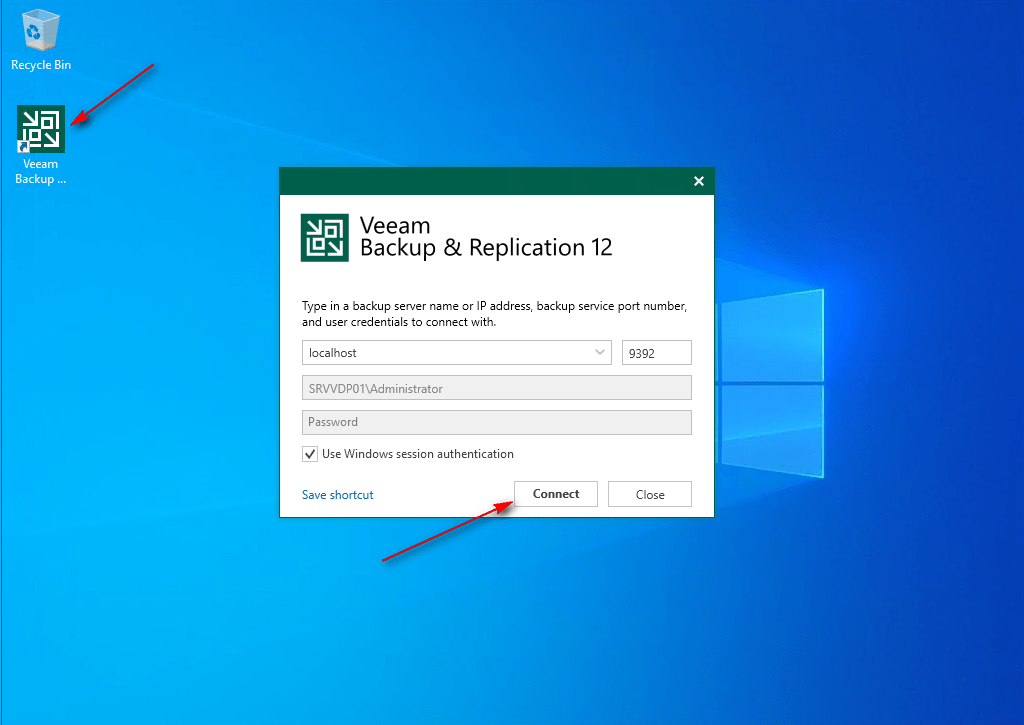
01 – Log in to the Veeam Backup Server and launch the Veeam Backup & Replication console.
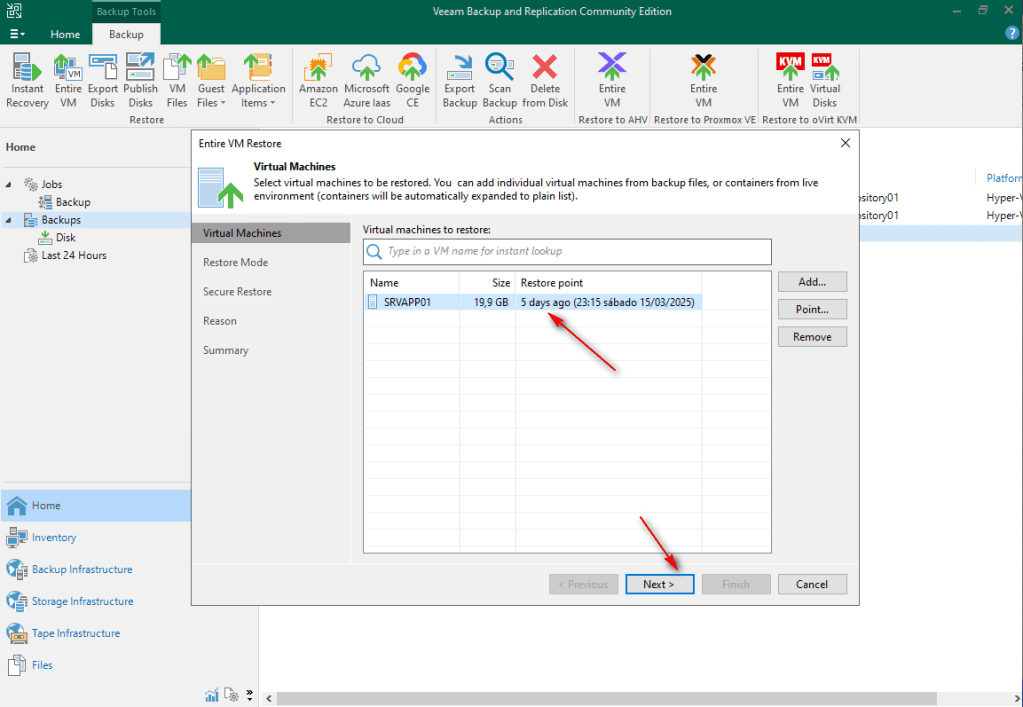
02 – Navigate to Home -> Backups -> Disk. Select VM, right-click, Restore entire VM.

03 – Select the last restore (default) point and click Next.
04 – Select Restore to original location and click Next

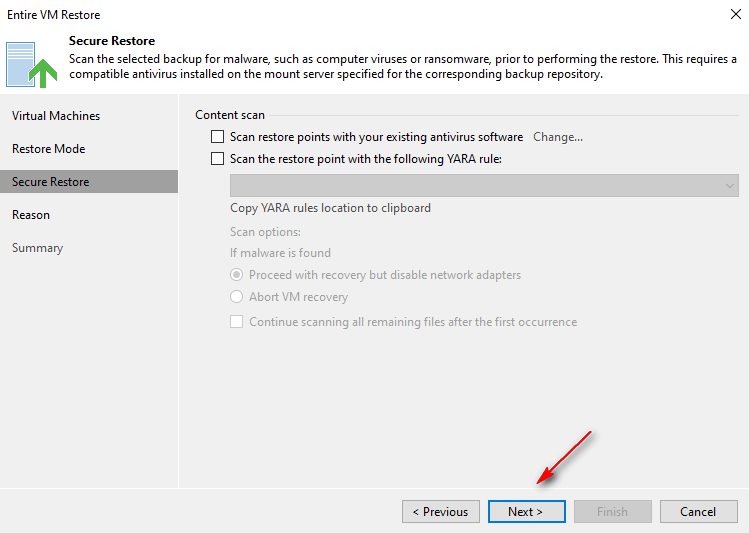
05 – In the Secure Restore section, click Next. (Detailed security options will be covered in future posts).
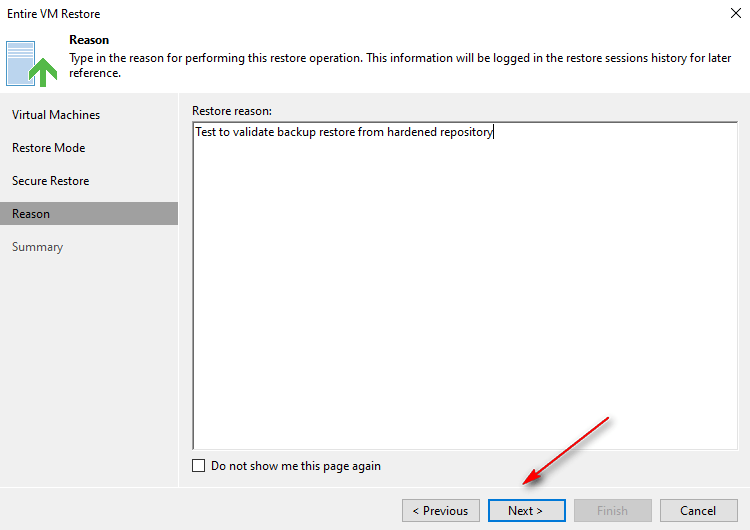
06 – Enter your Restore reason. It’s very important for auditory. (Option details in future posts about Veeam One).
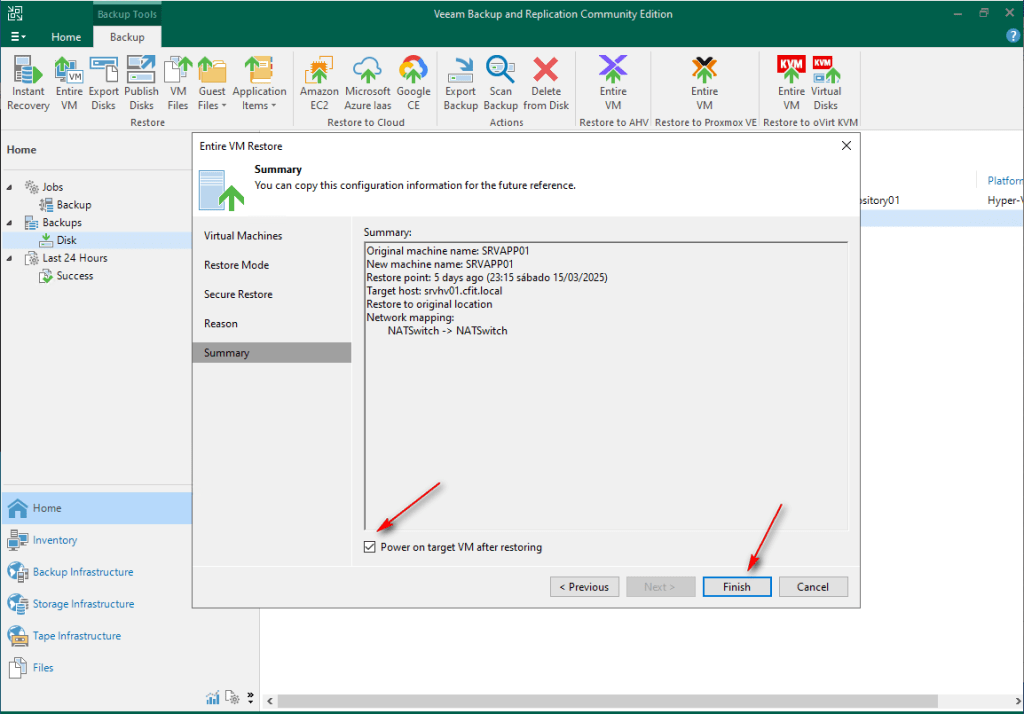
07 – Select Power on target VM after Restore, click Finish, and wait for the restore to complete.
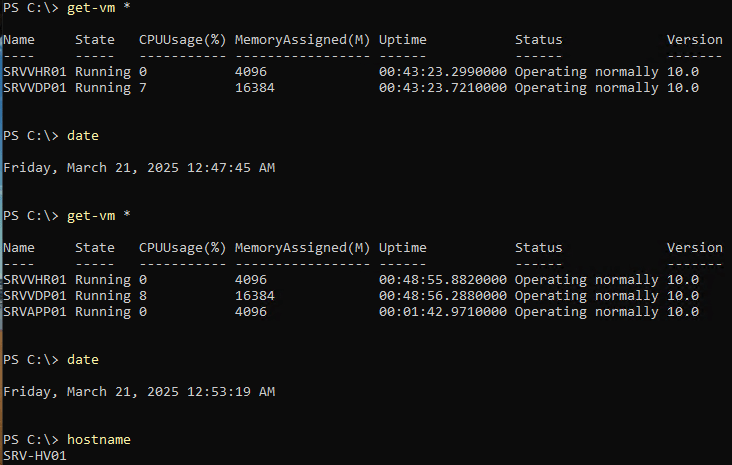
08 – Confirm the VM exists and is running on the Hyper-V host.

References:
Restoring Entire VMs – User Guide for Microsoft Hyper-V
For this guide demonstrates a simple backup restore for testing. Subsequent posts will cover all Hyper-V VM backup restore options.
Keep in mind that this guide is intended to demonstrate Veeam features and processes. It is not recommended to deploy any repository within a Virtual Machine.
Thanks for your time!
😉
Step by Step – Veeam Hardened Repository with Rocky Linux and DISA STIG – Part 1
Step by Step – Veeam Hardened Repository with Rocky Linux and DISA STIG – Part 2
Step by Step – Veeam Hardened Repository with Rocky Linux and DISA STIG – Part 3
Step by Step – Veeam Hardened Repository with Rocky Linux and DISA STIG – Part 4

Leave a comment