
01 – Check system requirements for Veeam Backup Server System Requirements – User Guide for Microsoft Hyper-V.
02 – Download the last version available Discover the Latest Version of Veeam Solutions.
03 – Click (right mouse button) on ISO and mount the image on Windows.

04 – Click (right mouse button) on Setup and select Run as Administrator.

05 – Click install

06 – Select Install Veeam Backup & Replication and wait loading setup wizard.

07 – Click I Accept to agree to the license terms. Select your license file and click Next. If you don’t have a license, the community version will be installed

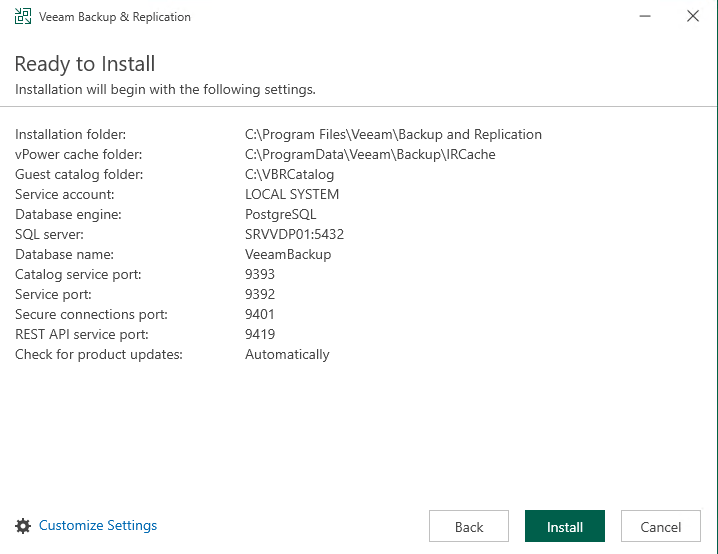
08 – Wait for the system check. If everything is OK, click Install. The default path installation is C:. For this guide, I will select Customize Settings.

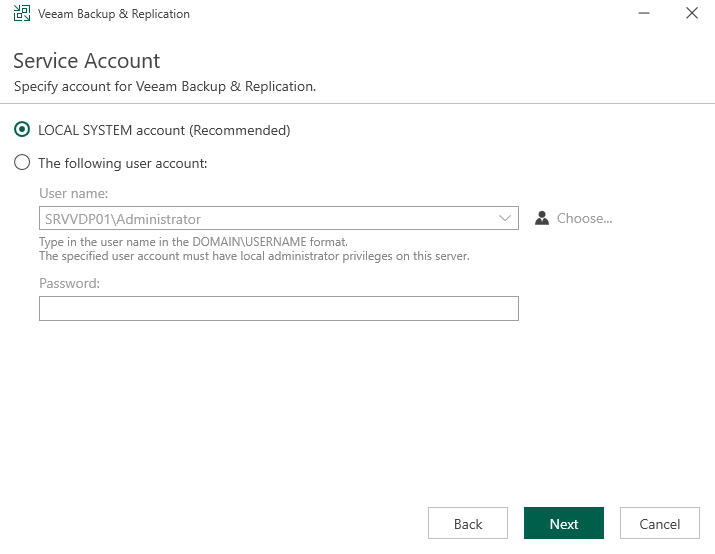
09 – Click Next to install using the local system user. Alternatively, you can create a specific user for service installation.
10 – Veeam supports two databases for configuration data, PostgreSQL (the default option) and SQL Server. If you have SQL Server, you can configure the connection. For this guide, I will use PostgreSQL. After selecting your database engine, click Next.

11 – Select the installation path. For this guide, I will use D:. Click Browse and create the necessary folders for the installation, then click Next. Note: You must manually create the folder in the specified path, as the Veeam wizard does not create it automatically.

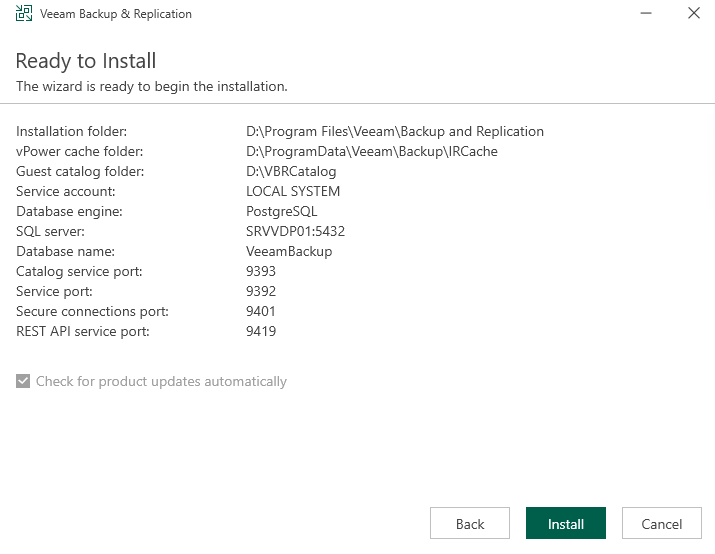
12 – Click Next. I will use the defaults ports, but you can customize.

13 – If all OK, click install and wait installation.
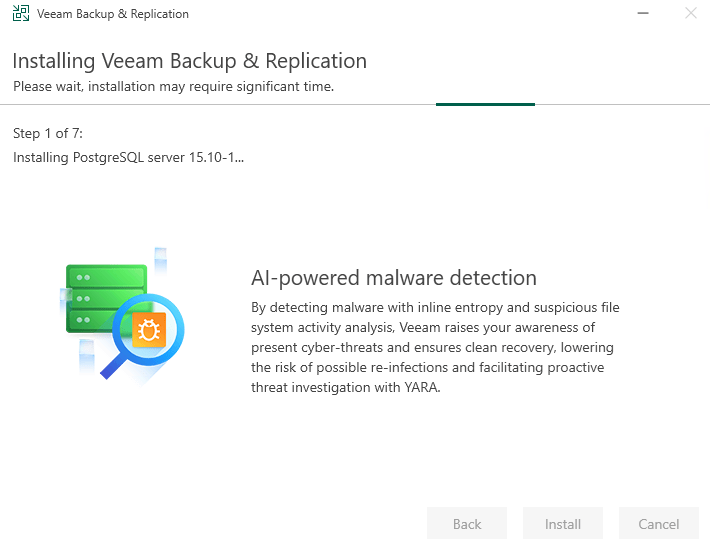
Well done, the Veeam Backup successfully installed!

Leave a comment