This guide helps you to create a new Virtual Machine on Hyper-V Server.
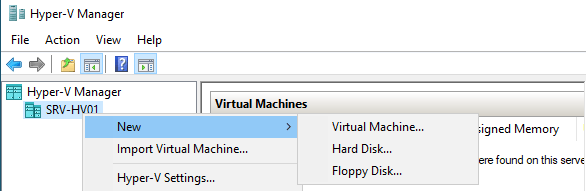
01 – Click on Hyper-V Host and select New -> Virtual Machine.
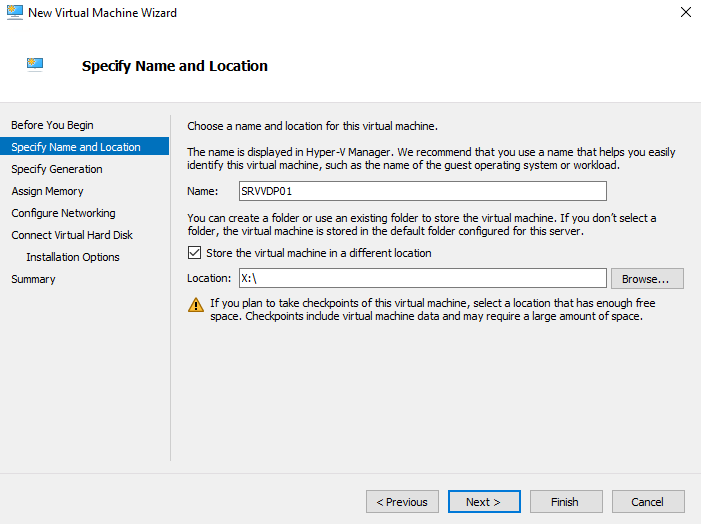
02 – Insert Virtual Machine name.
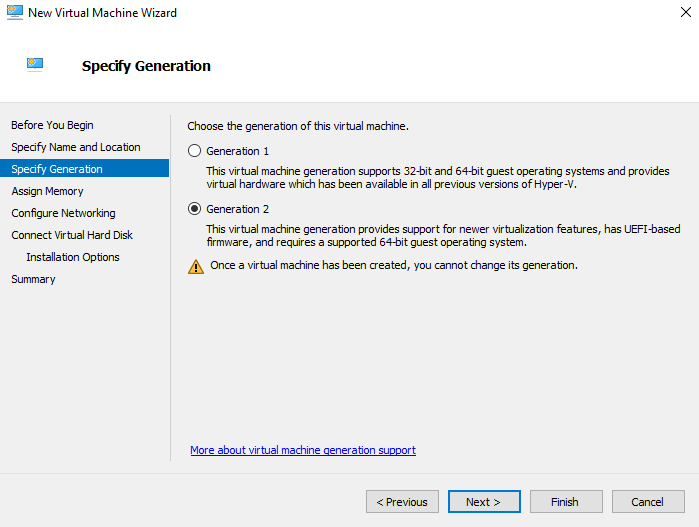
03 – 03 – Select Generation 02 (Should I create a generation 1 or 2 virtual machine in Hyper-V? | Microsoft Learn).
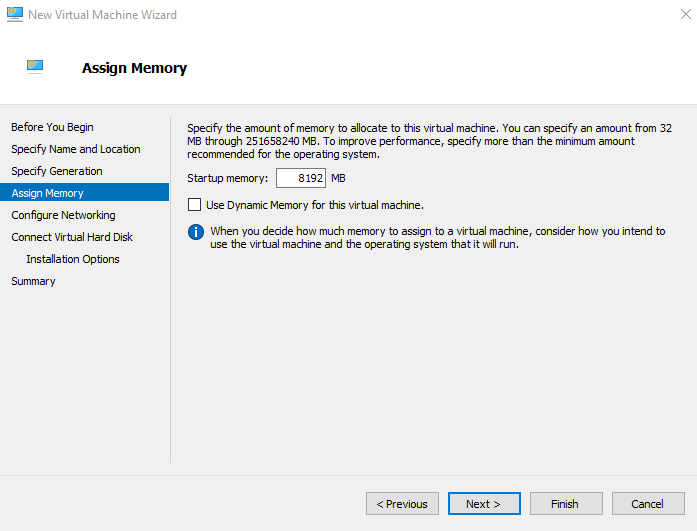
04 – Specify the amount of memory for this Virtual Machine.
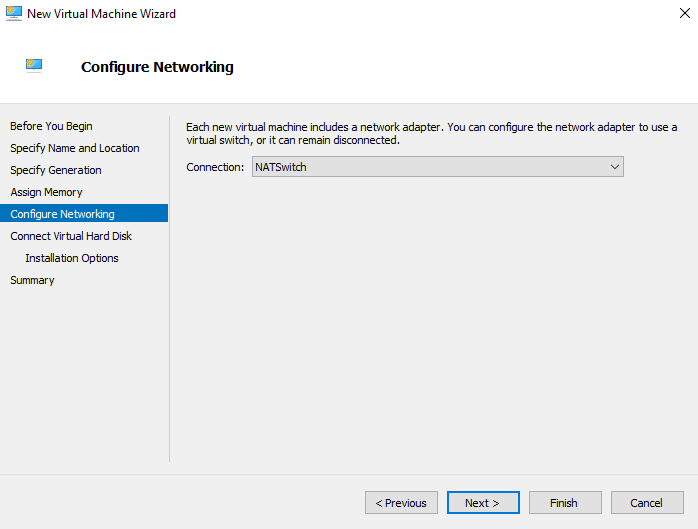
05 – Specify the Network for this Virtual Machine.
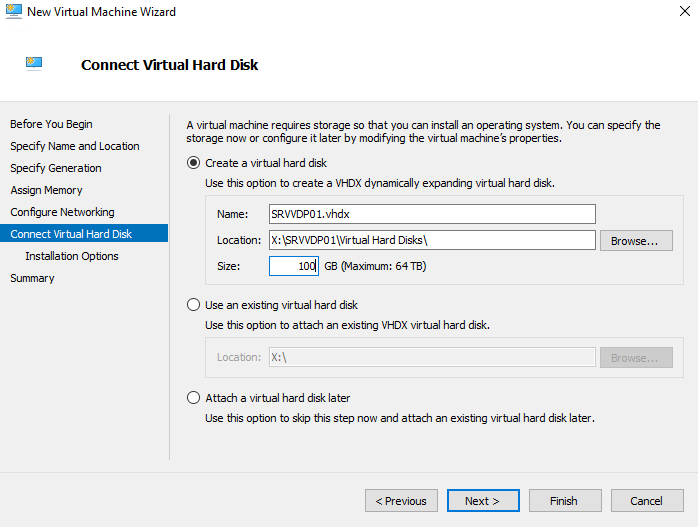
06 – Specify the amount of Disk size for this Virtual Machine.
07 – Specify the path ISO to install the Operating System and click finish.

08 – To default the Virtual Machine is created using 01 Processor. If necessary you can add more. For this select Virtual Machine -> Settings -> Processor and set number of Processors and click OK.


09 – Before installation is necessary, change boot priority. For this select Virtual Machine -> Settings -> Firmware and move DVD Type to first and click finish.

Nice, your Virtual Machine has been successfully created!

Leave a comment