In this part of the guide, I will covers integrating the previously configured immutable repository with a Veeam Backup & Replication server.
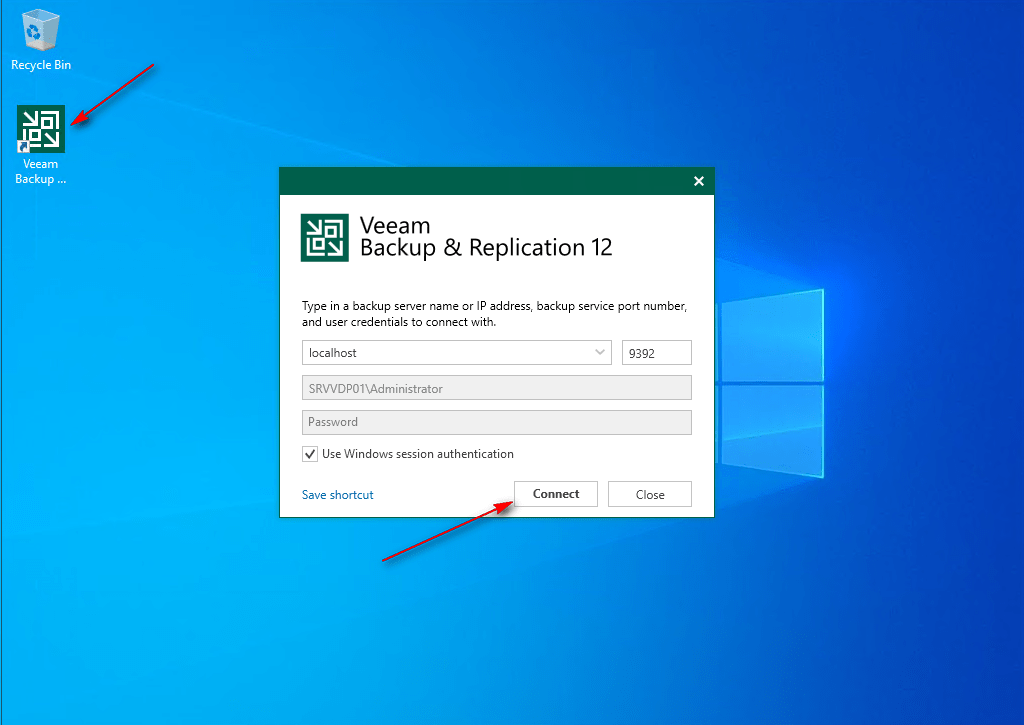
01 – Log in to the Veeam Backup Server and launch the Veeam Backup & Replication console.
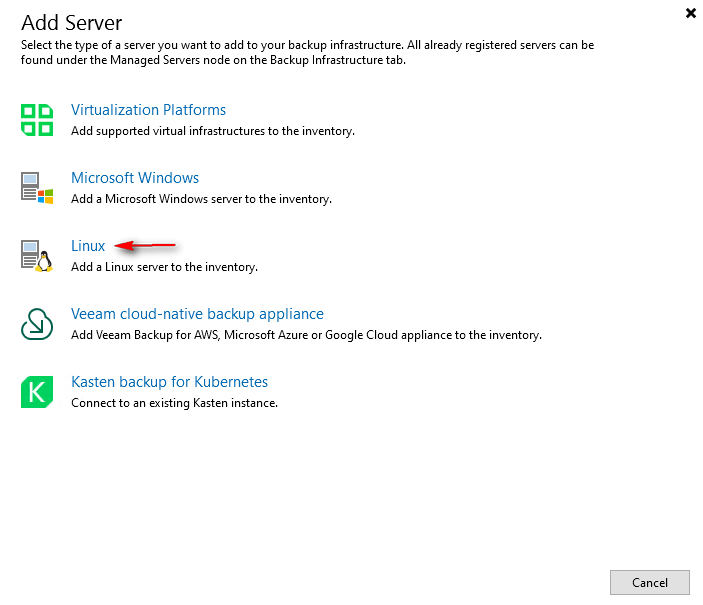
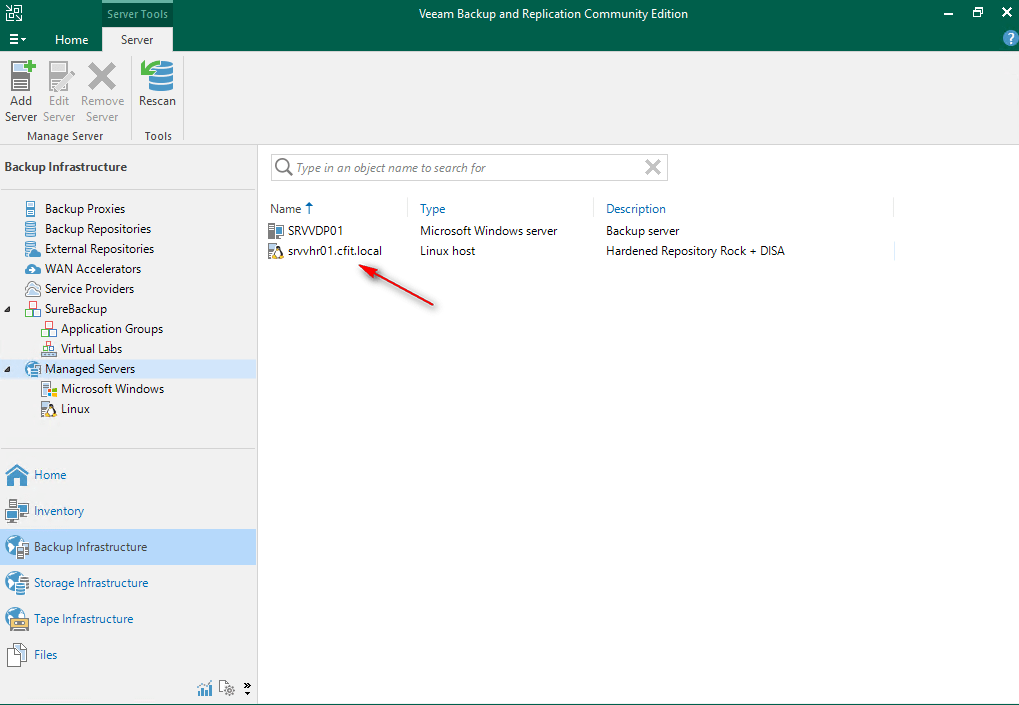
02 -Navigate to Backup Infrastructure -> Managed Servers -> Add Server.

03 – Select Linux as the server type.
04 – Enter IP or DNS name and description to server will use to Hardened Repository and click Next.

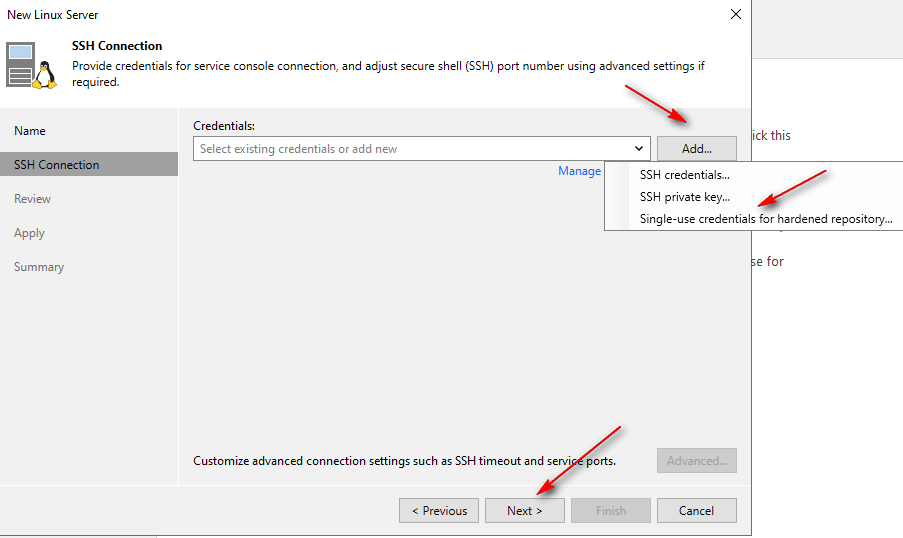
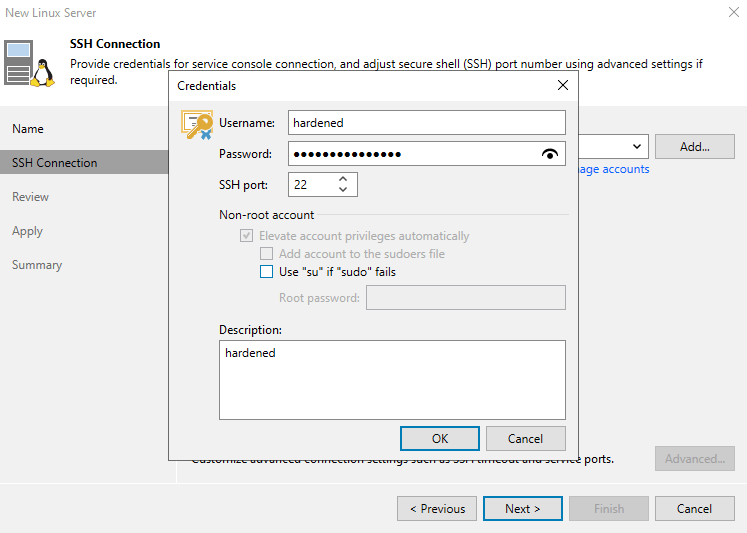
05 – Under Credentials, click Add and choose Single-user credentials (dedicated to the Hardened Repository).
06 – Enter the username and password for the hardened repository user. Best Practice: Use a dedicated account with restricted privileges. Click OK -> Next
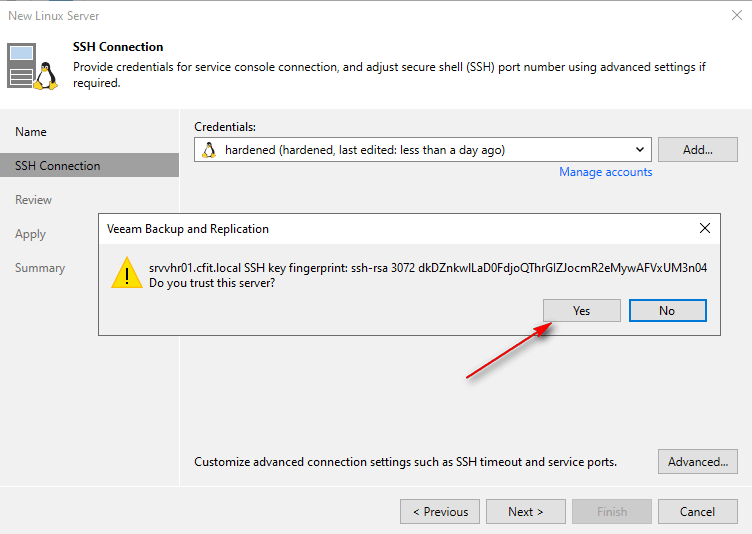
07 – Confirm trust for the Linux server when prompted.
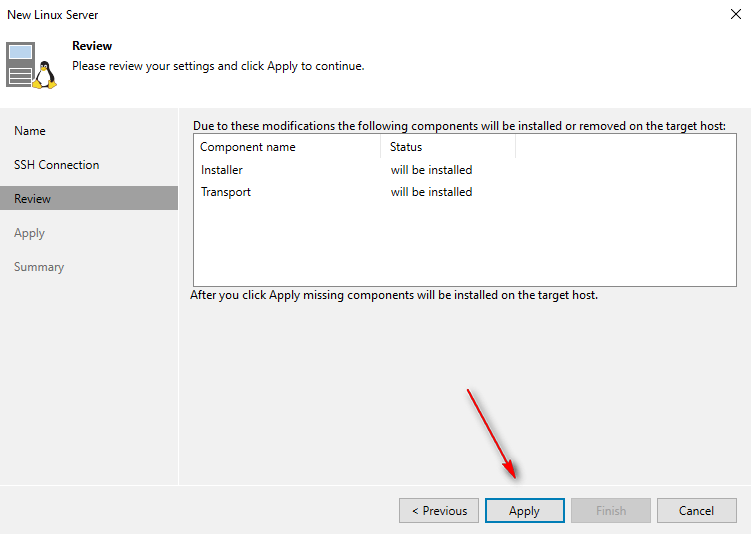
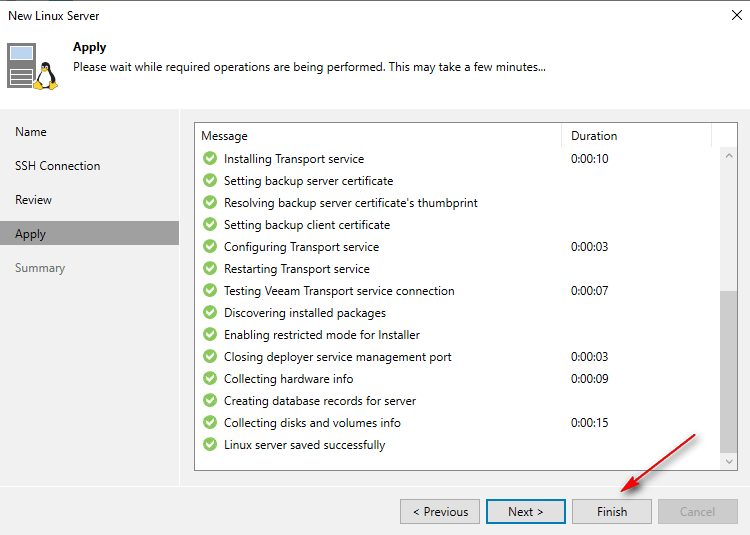
08 – Click Apply to deploy Veeam components on the Linux server. Wait for installation to complete, then click Finish.
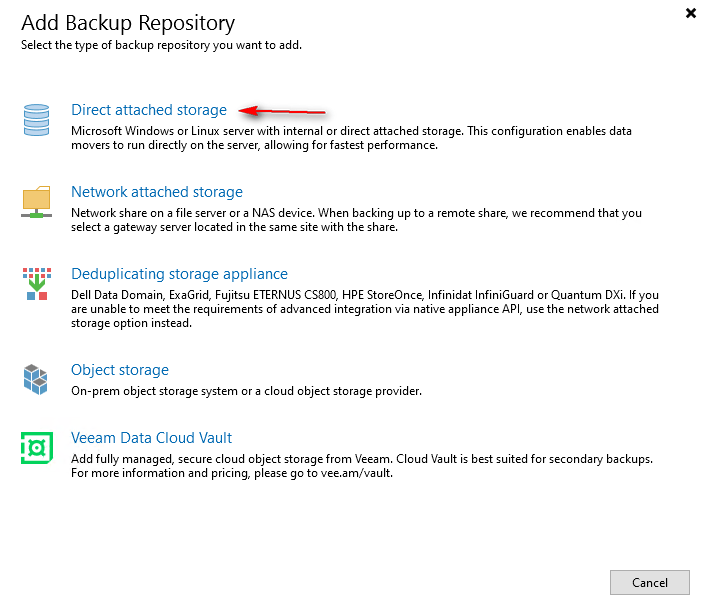
09 – Go to Backup Repositories -> Add Repository

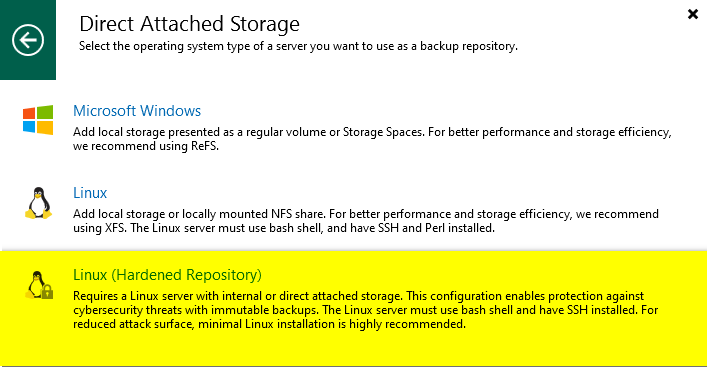
10 – Select Direct attached storage -> Linux (Hardened Repository)

11 – Provide a name and description for the repository. Click Next.

12 – Select the Linux server from the list and click Populate. Choose the mount point for backup data. Click Next.

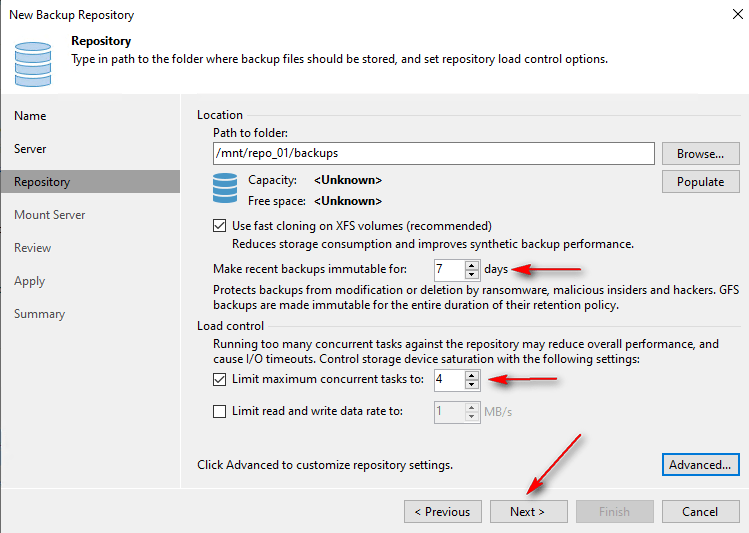
13 – Set the immutability period to protect backups from deletion. Define the maximum concurrent tasks. Click Next.
14 – Select a mount server (default: Veeam Backup Server). Click Next.

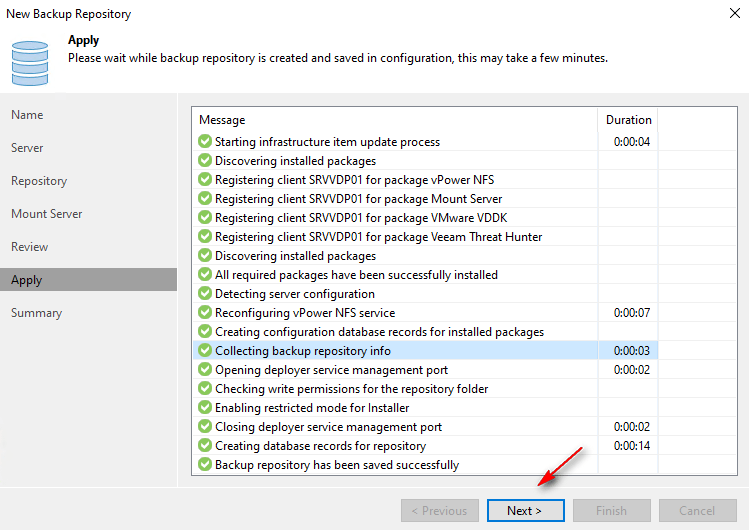
15 – Click Apply to save configurations. Wait for validation, then click Finish.

16 – Go back to Linux server. Remove the hardened user from the wheel group to revoke sudo access: gpasswd -d hardened wheel

17 – Stop and Disable ssh services: systemctl stop sshd && systemctl disable sshd
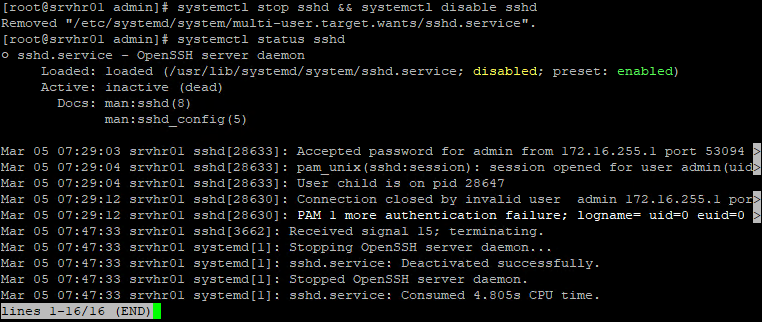
18 – Verify SSH connectivity is blocked.

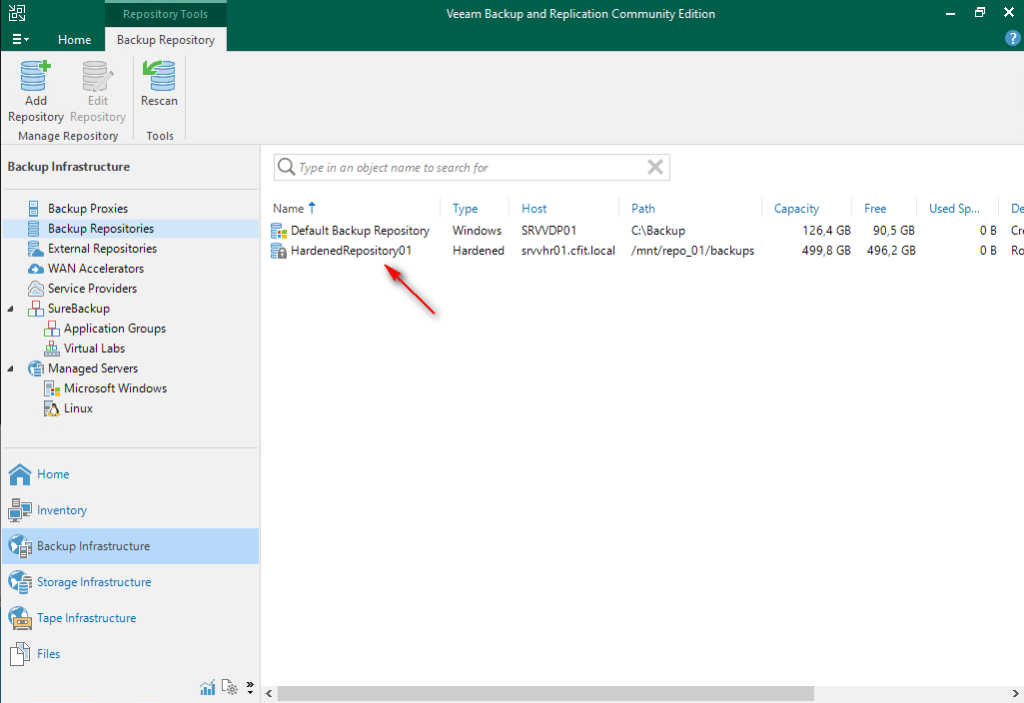
19 – Go back to Veeam Backup Server. Navigate to Backup Infrastructure -> Backup Repositories -> right-click the new repository -> Rescan.


References:
Adding Hardened Repositories – User Guide for Microsoft Hyper-V
On part 04, I will perform backup and restore operations. Finally, we will attempt to delete backup data to confirm the immutability of the repository to validate functionality.
Keep in mind that this guide is intended to demonstrate Veeam features and processes. It is not recommended to deploy any repository within a Virtual Machine.
Thanks for your time!
😉
Step by Step – Veeam Hardened Repository with Rocky Linux and DISA STIG – Part 1
Step by Step – Veeam Hardened Repository with Rocky Linux and DISA STIG – Part 2
Step by Step – Veeam Hardened Repository with Rocky Linux and DISA STIG – Part 4
Step by Step – Veeam Hardened Repository with Rocky Linux and DISA STIG – Final

Leave a comment