In this part of the guide, I will covers backup operation. Finally, we will attempt to delete backup data to confirm the repository’s immutability and validate its functionality.
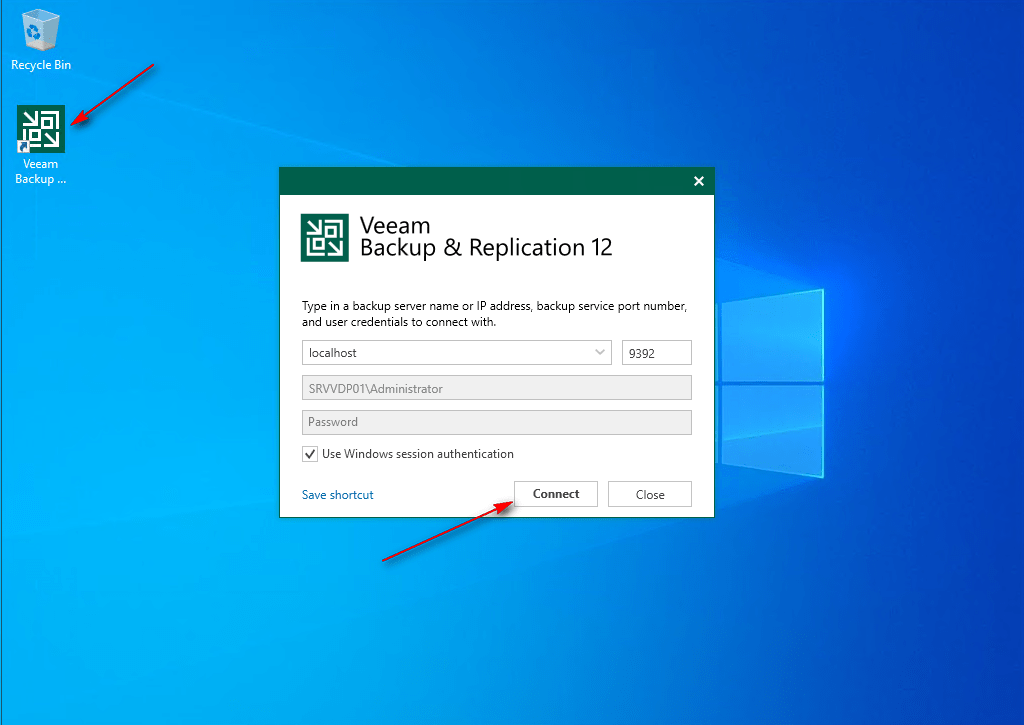
01 – Log in to the Veeam Backup Server and launch the Veeam Backup & Replication console.
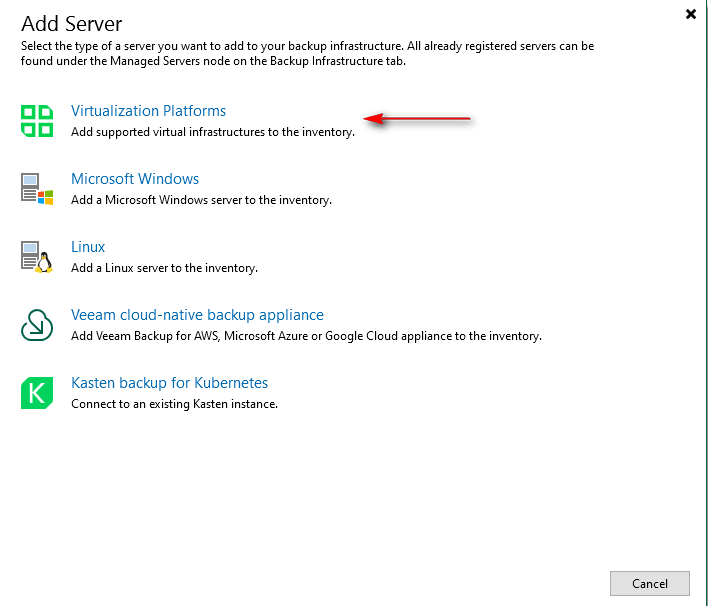
02 -Navigate to Backup Infrastructure -> Managed Servers -> Add Server.

03 – Select Virtualization Platforms as the server type.
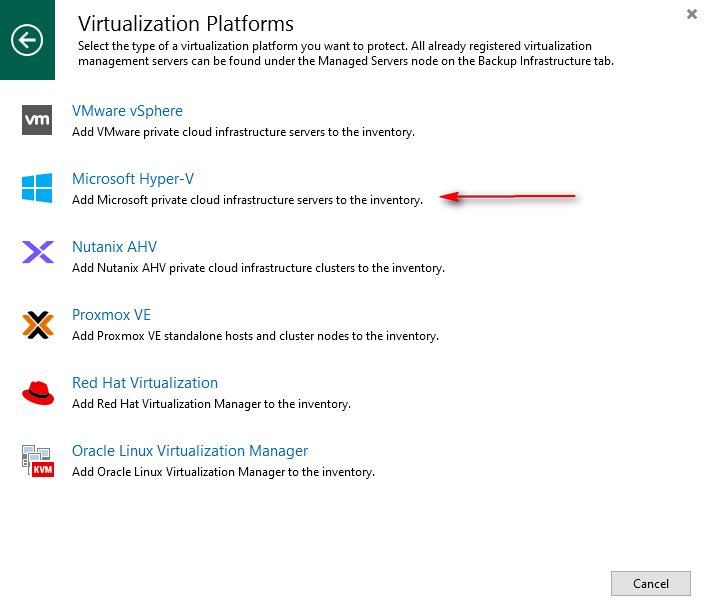
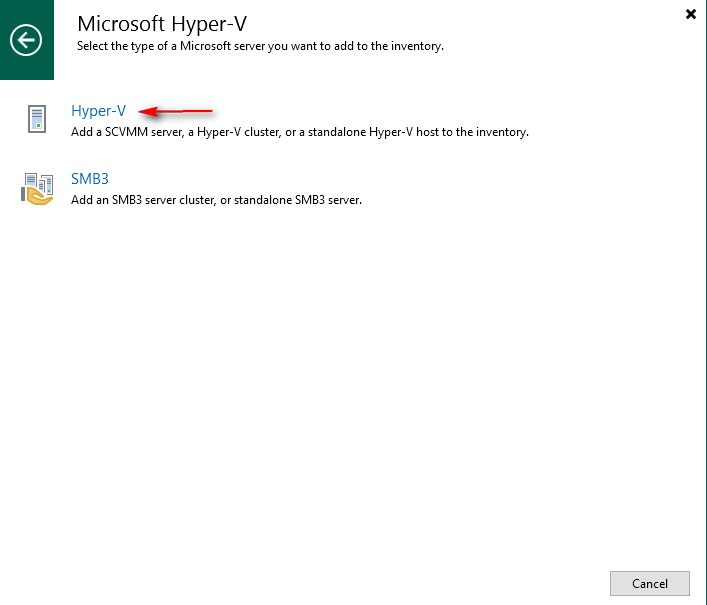
04 – Select Microsoft Hyper-V.
05 – Select Hyper-V as the server type.
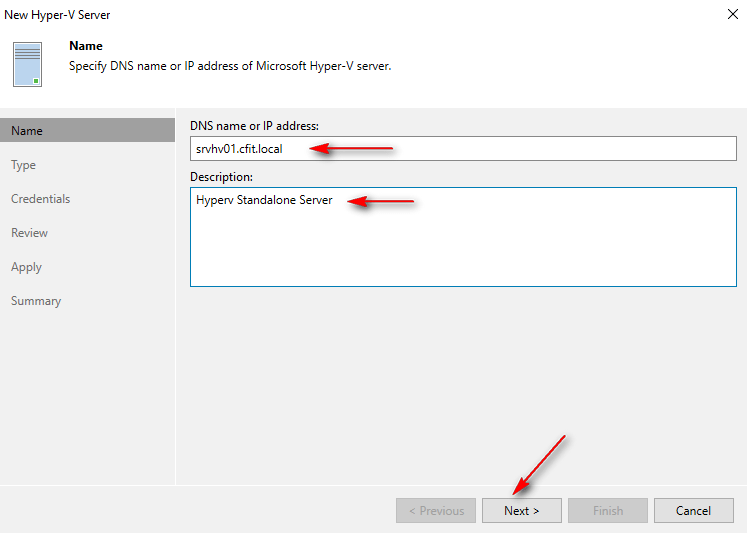
06 – Enter IP or DNS name and description to server will use to Hyper-V Server and click Next.
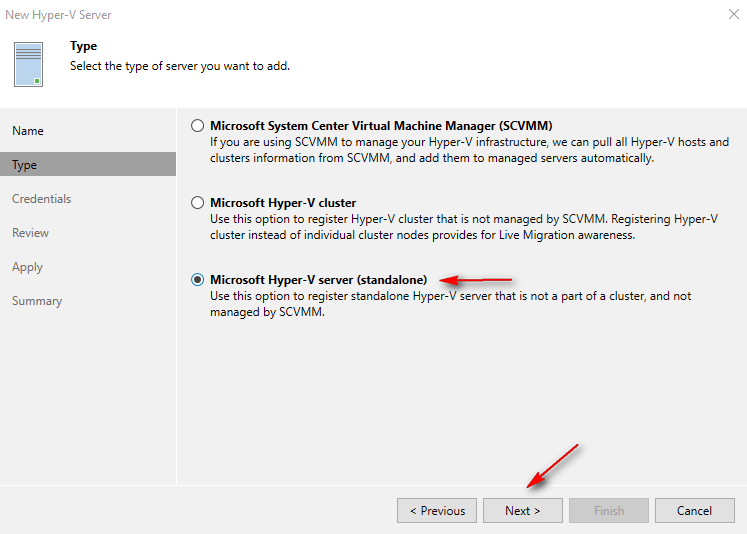
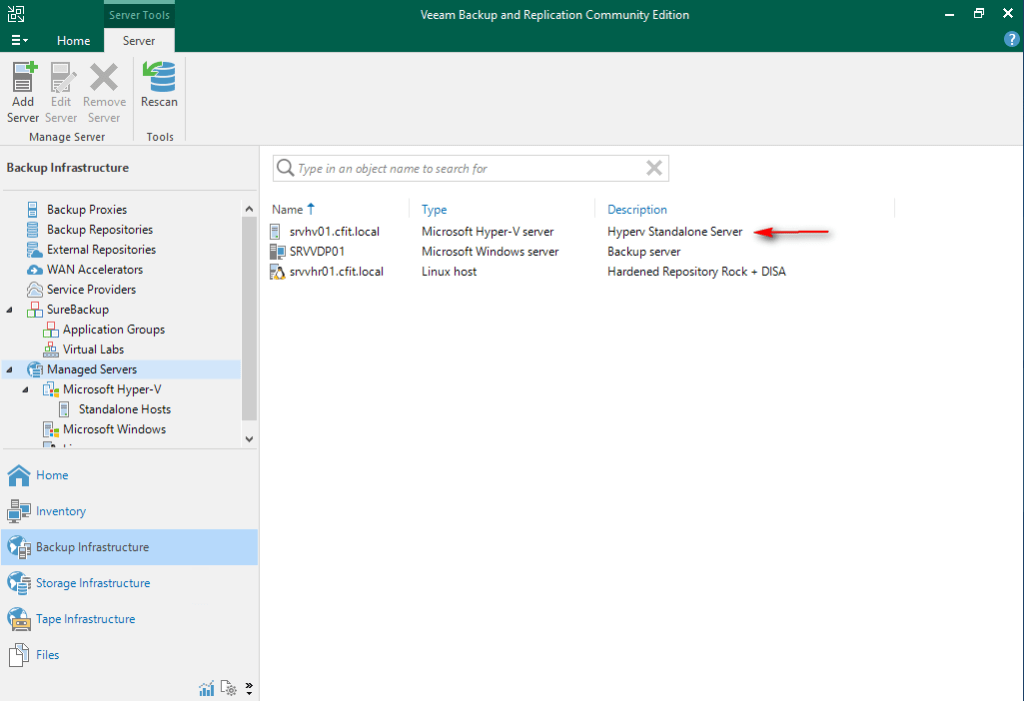
07 – Select Microsoft Hyper-V server (Standalone) as the server type and click Next.
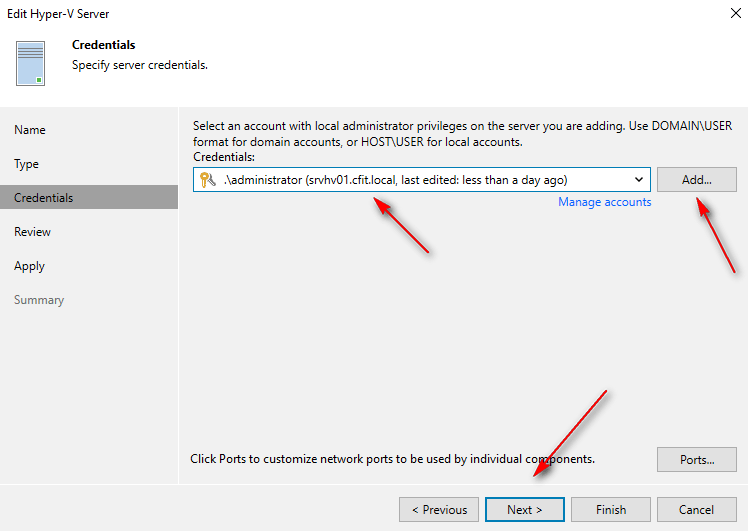
08 – Under Credentials, click Add and insert user and password and click Next.
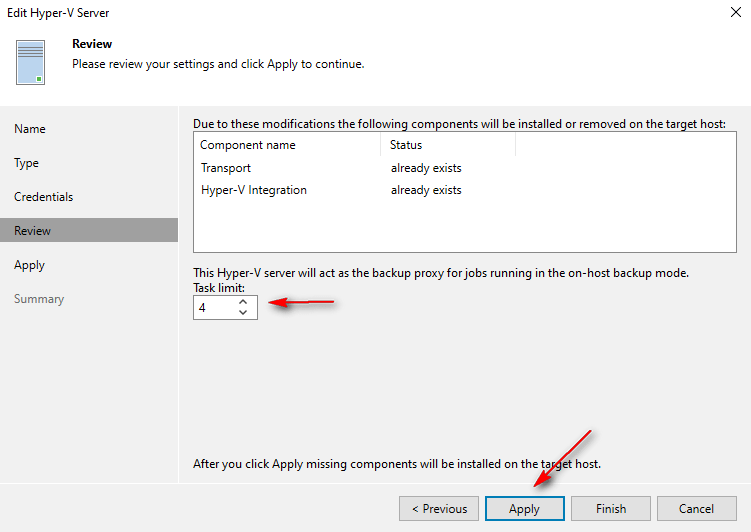
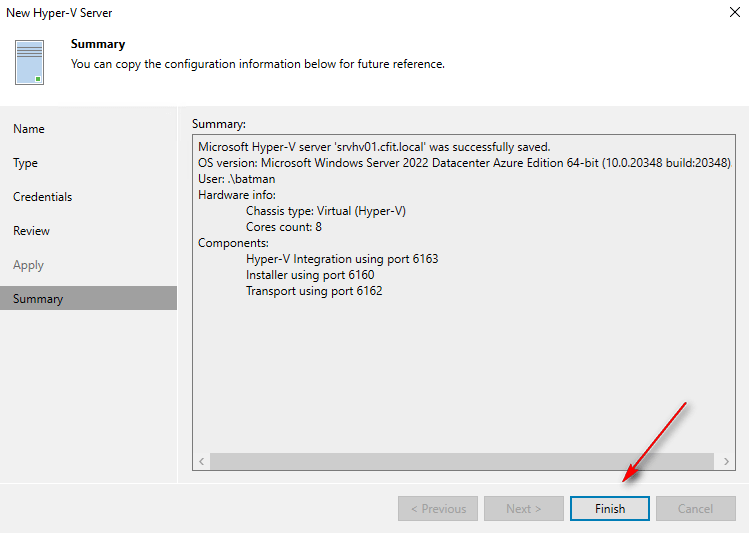
09 – Define the maximum concurrent tasks. Click Apply to save configurations. Wait for validation, then click Next and Finish.

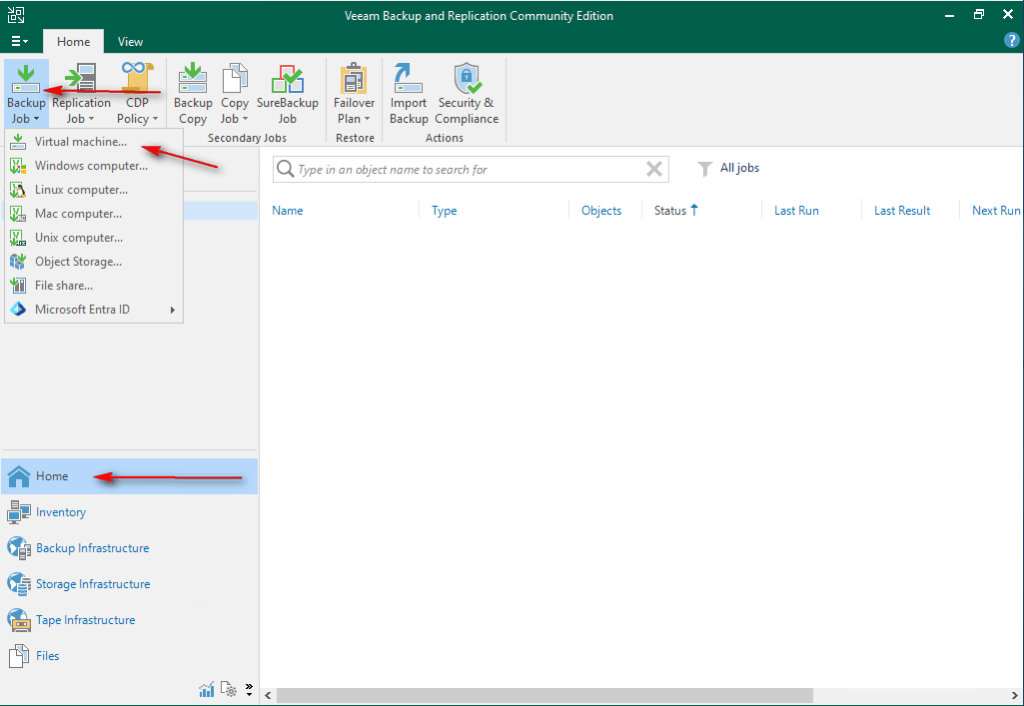
10 -Navigate to Home -> Backup Job -> Virtual Machine.
11 – Enter name and description to Job Name and click Next.

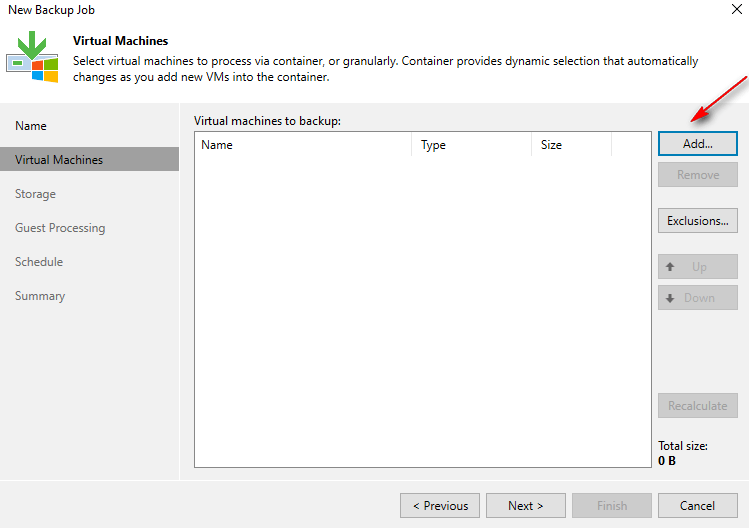
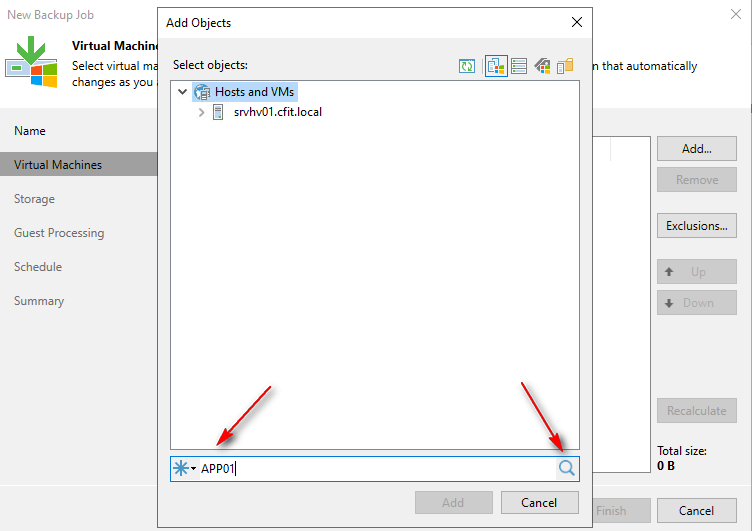
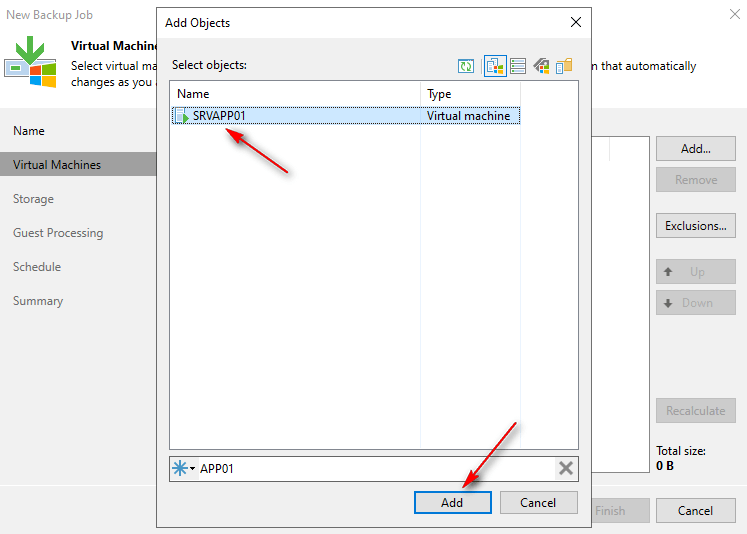
12 – Click Add, expand the Hyper-V host, enter the VM name, click Search, select the VM, and click Add and Next.
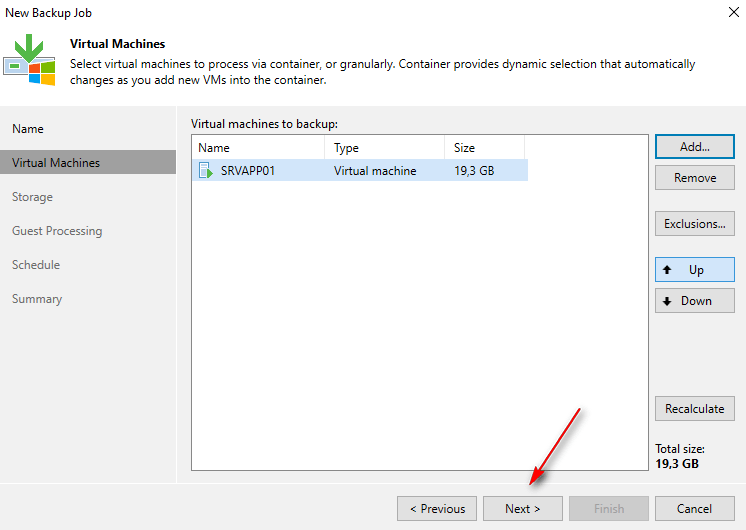
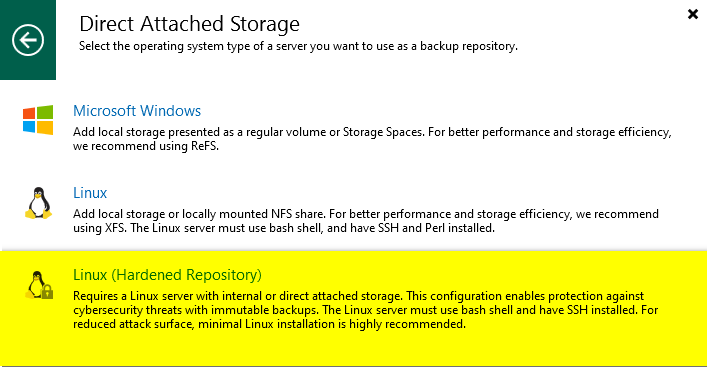
13 – Select Backup Repository, choose your Hardened Repository, and configure the Retention Policy and click Next.

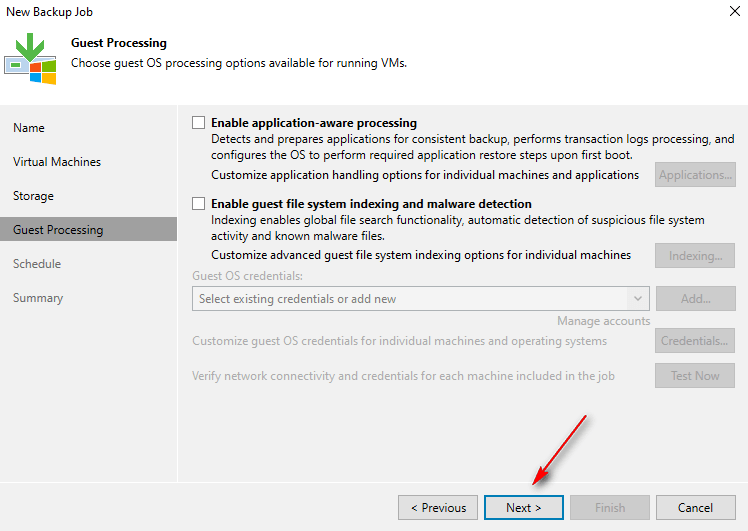
14 – In Guest Processing, click Next.
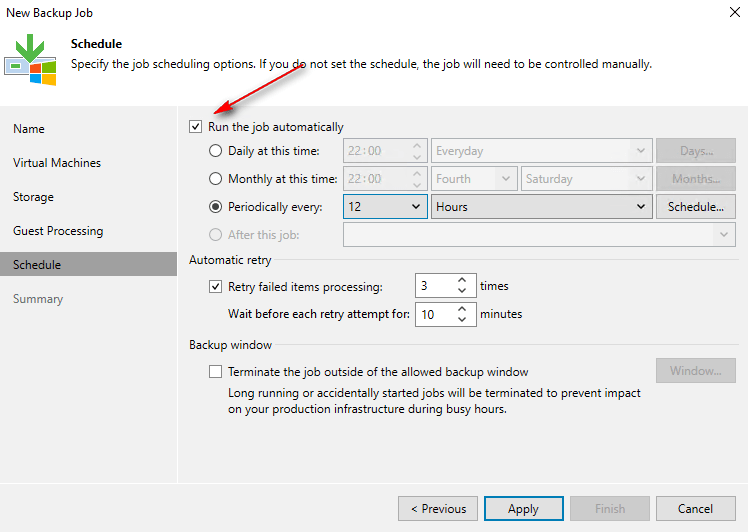
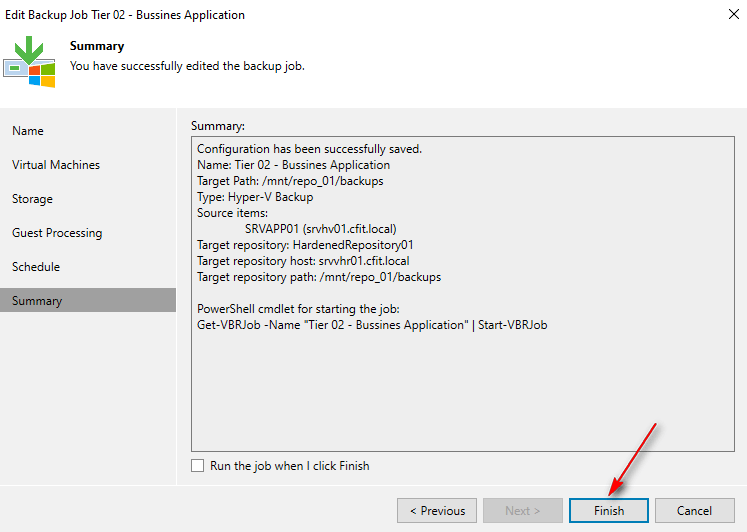
15 – Select Run the job automatically, choose your schedule, and click Apply and Finish.
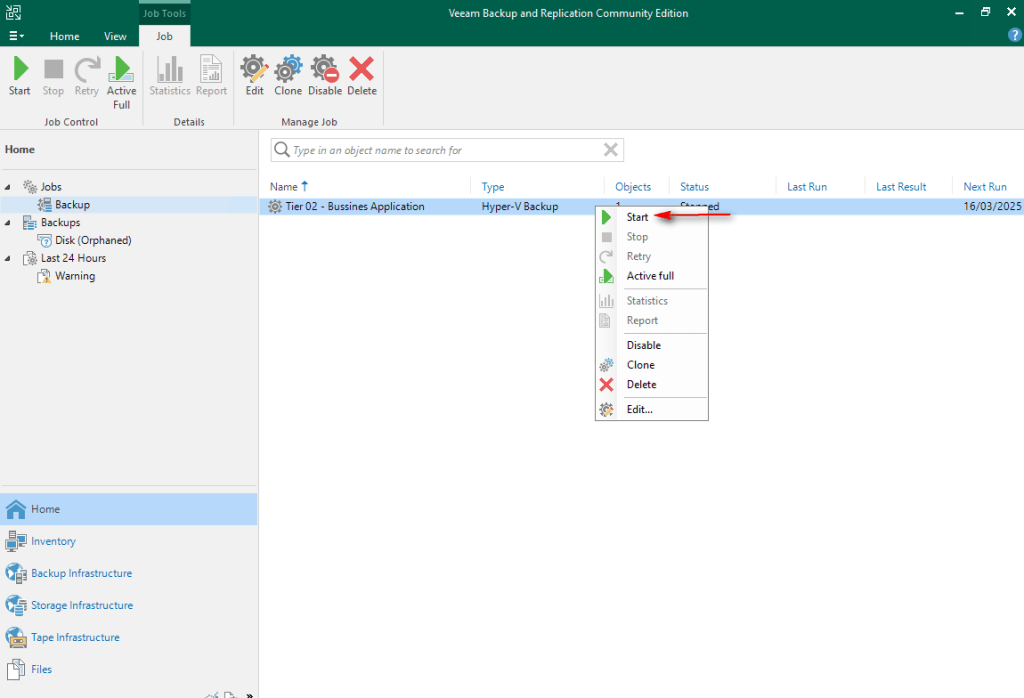
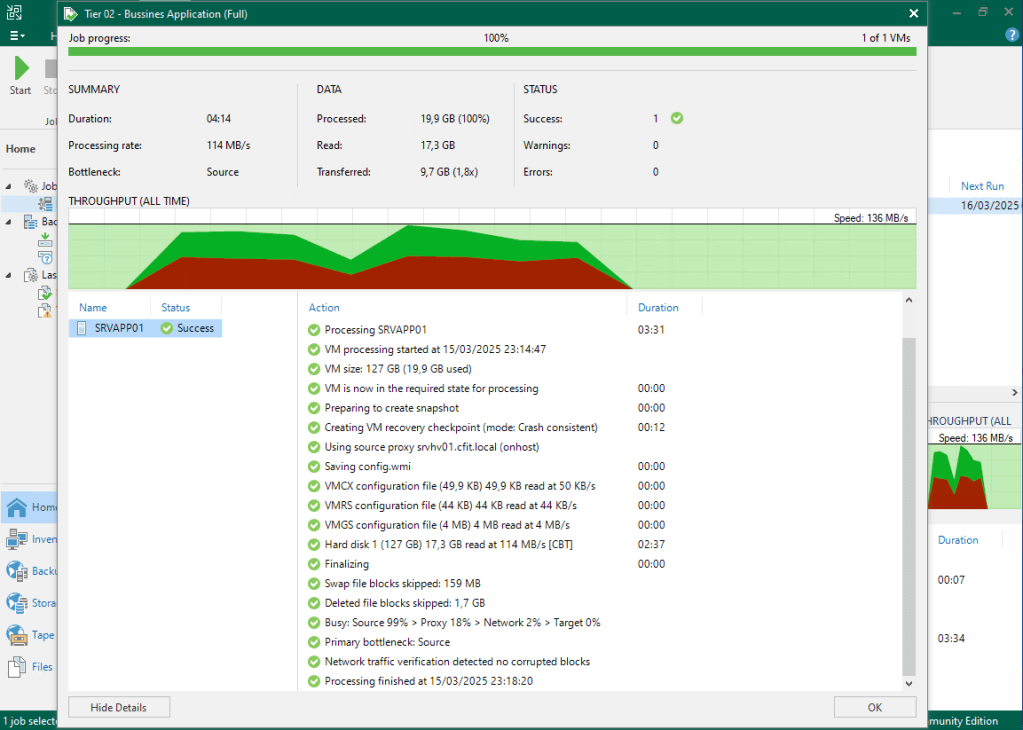
16 – Select your Job, right-click on it, select Start, and wait for the backup task to finish.
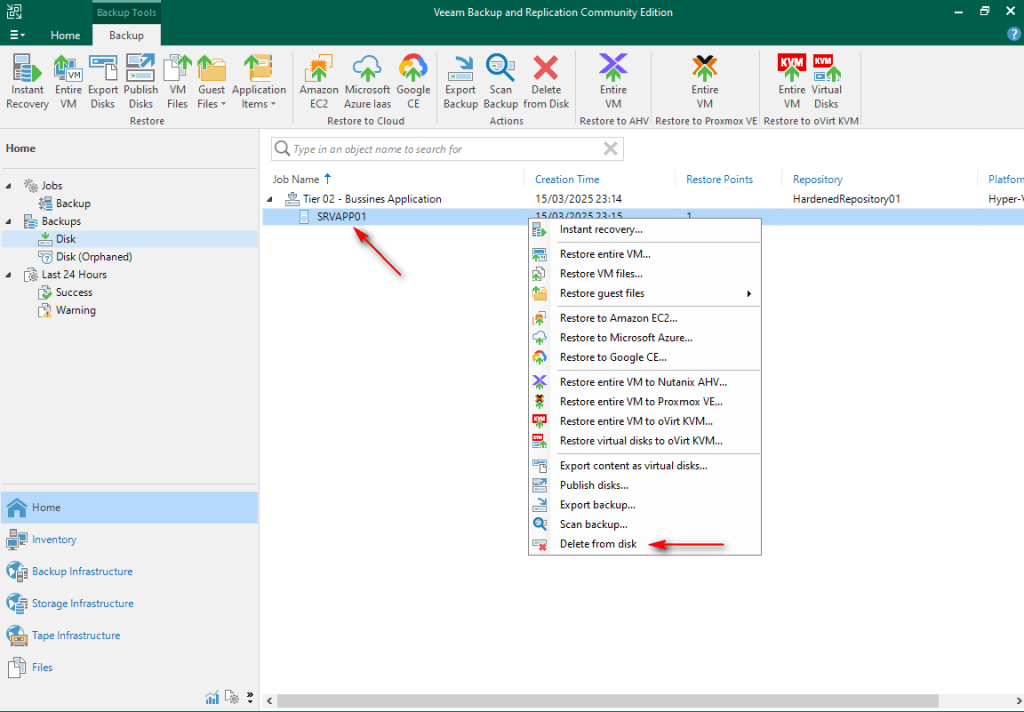
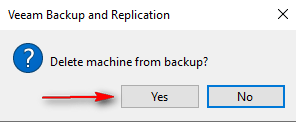
17 – Navigate to Home -> Backups -> Disk. Select VM, right-click, Delete from Disk and click Yes.
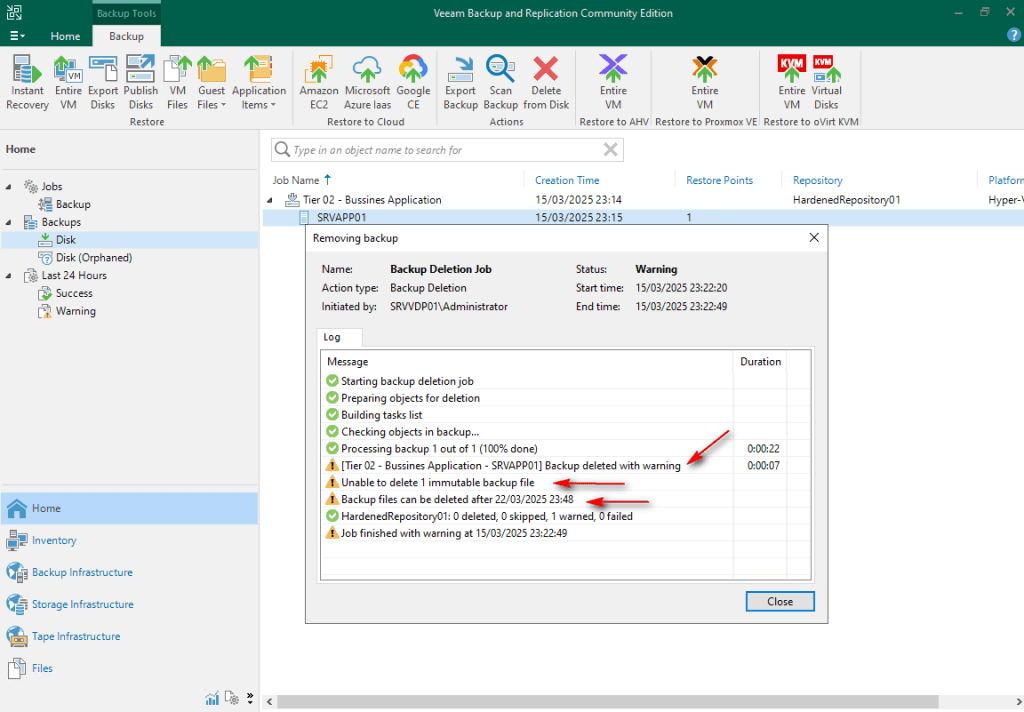
18 – If the deletion is denied, immutability is working.
References:
Deleting Backups from Disk – User Guide for Microsoft Hyper-V
For this guide, I created a simple backup job for testing purposes. Subsequent posts will cover all options for Hyper-V VM backups.
Keep in mind that this guide is intended to demonstrate Veeam features and processes. It is not recommended to deploy any repository within a Virtual Machine.
Thanks for your time!
😉
Step by Step – Veeam Hardened Repository with Rocky Linux and DISA STIG – Part 1
Step by Step – Veeam Hardened Repository with Rocky Linux and DISA STIG – Part 2
Step by Step – Veeam Hardened Repository with Rocky Linux and DISA STIG – Part 3
Step by Step – Veeam Hardened Repository with Rocky Linux and DISA STIG – Final

Leave a comment